Knowing how to choose the best seat on a plane comes down to three things: the seat map for your actual aircraft, an honest ranking of what matters to you, and knowing where the noise, the recline limits and the cramped rows are on that specific jet. Get those right and a ten-hour flight stops feeling like an endurance test.
The whole process takes about five minutes before you book and another five at check-in, and it works the same whether you are flying a red-eye on a narrow-body or crossing the Atlantic in a row of four. No single row number is best for everyone, which is why the popular advice of just picking row 12 keeps disappointing people.
What follows is the process I use, in the order that actually saves time. It works before you pay, after the aircraft is confirmed, and again at the gate if something changed.
Table of Contents
- 1What You Need
- 2Step-by-Step: How to Choose the Best Seat on a Plane
- 3Step 1: Start With the Aircraft Seat Map
- 4Step 2: Decide What Matters Most for Your Trip
- 5Step 3: Check the Aircraft and Row Differences
- 6Step 4: Consider Noise, Movement, and Service Paths
- 7Step 5: Choose the Best Seat for Your Body and Accessibility Needs
- 8Step 6: Check Availability Before You Pay
- 9Step 7: Confirm the Choice When You Board
- 10Common Mistakes
- 11Frequently Asked Questions
- 12Is an aisle seat always more comfortable?
- 13Which airplane seats are usually the least comfortable?
- 14How far forward should I sit on a long flight?
- 15Does choosing a seat guarantee extra legroom?
- 16Should I avoid the row in front of an emergency exit?
- 17Can I change my seat after checking in?
- 18Conclusion
What You Need
You need four things, and you probably already have three of them. The first is your booking confirmation or boarding pass, which shows the flight number, the date and the booking class. The second is the seat map for that exact flight, not a generic diagram of the airline’s fleet.
The third item is the flight duration. A two-hour hop and a thirteen-hour redeye call for completely different seats, and pretending otherwise is how people end up in a middle seat on a transatlantic flight they will be stuck in for half a day.
Fourth, write down your actual needs before you look at any map. Be specific: a bad back, a six-foot-two frame, a three-year-old who will not sleep, a tight forty-minute connection, a job where you need to work, or a fear of flying that lands hardest when the cabin is dark. Vague intentions like I want a comfortable seat turn into an aisle seat next to a service trolley at 40,000 feet.
That is the whole toolkit. No apps, no memberships, no money required to start.
Step-by-Step: How to Choose the Best Seat on a Plane
Seven steps, in this order. Skipping ahead to the seat you think you want is how people end up in the row in front of an emergency exit with a seatback that never goes flat.
Step 1: Start With the Aircraft Seat Map
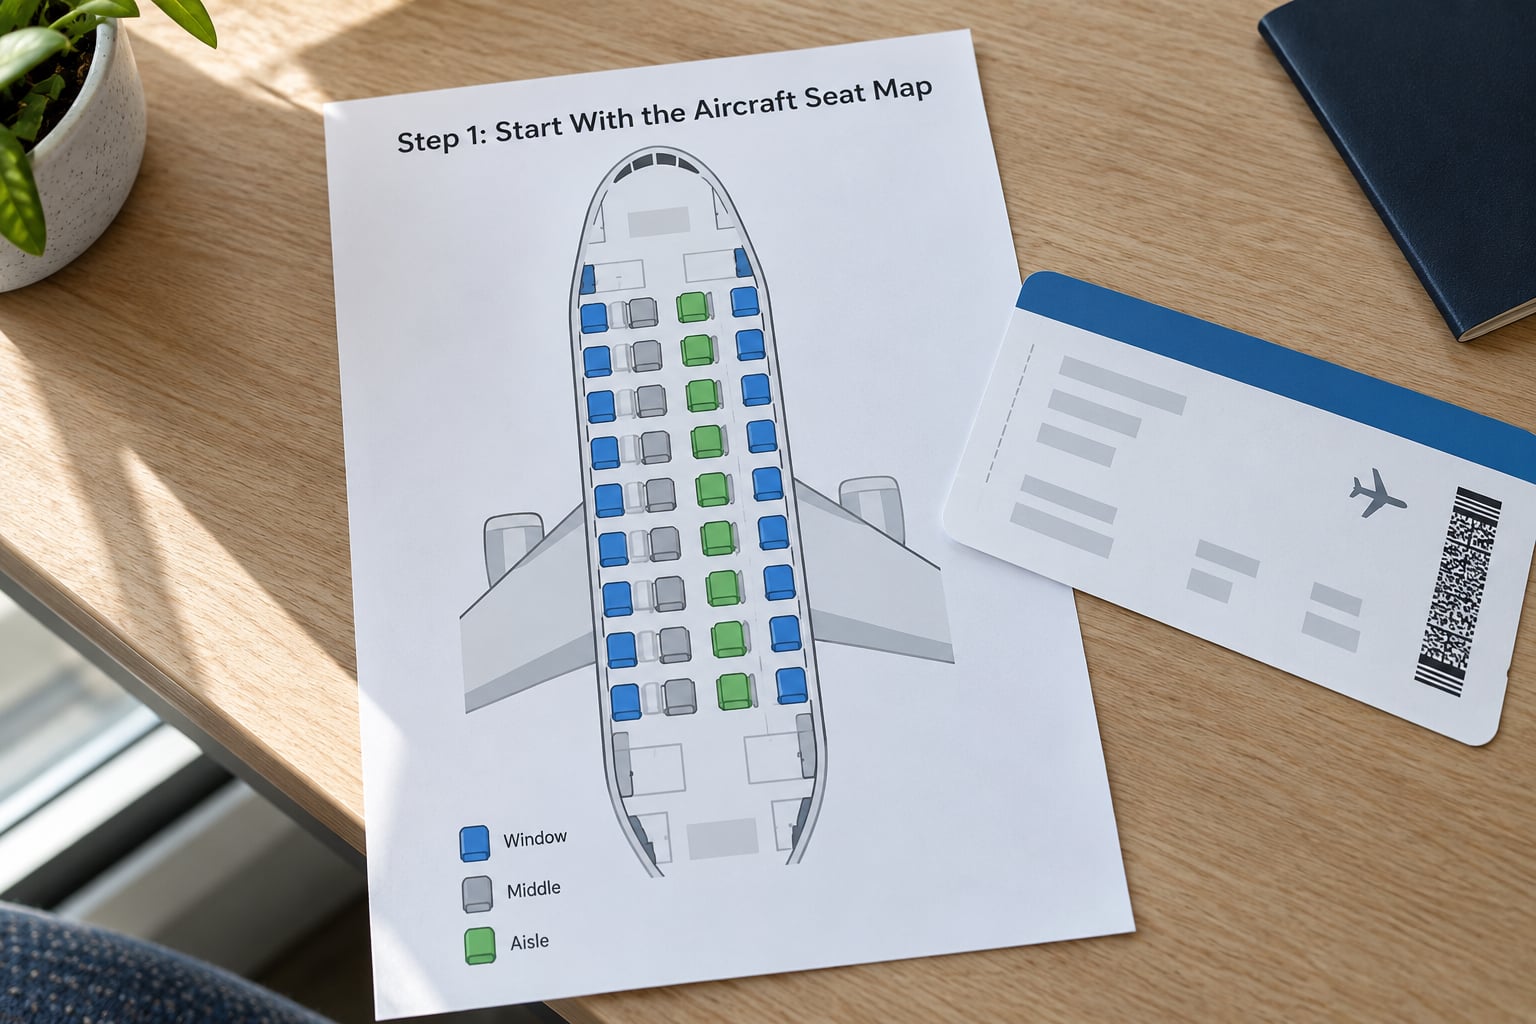
Open your airline’s site or app, pull up the specific booking, and find the seat map. On most airline sites the map is the last screen before payment, and it will name the aircraft type when the carrier knows it. Look for the three-letter code in the flight details, the ones like 738, 32A or 223.
That code tells you which jet you are flying, and each code has a different layout, different seat pitch, and a different set of problem rows. Seat 22C on one aircraft can be a standard seat, and on another a bulkhead row with no window.
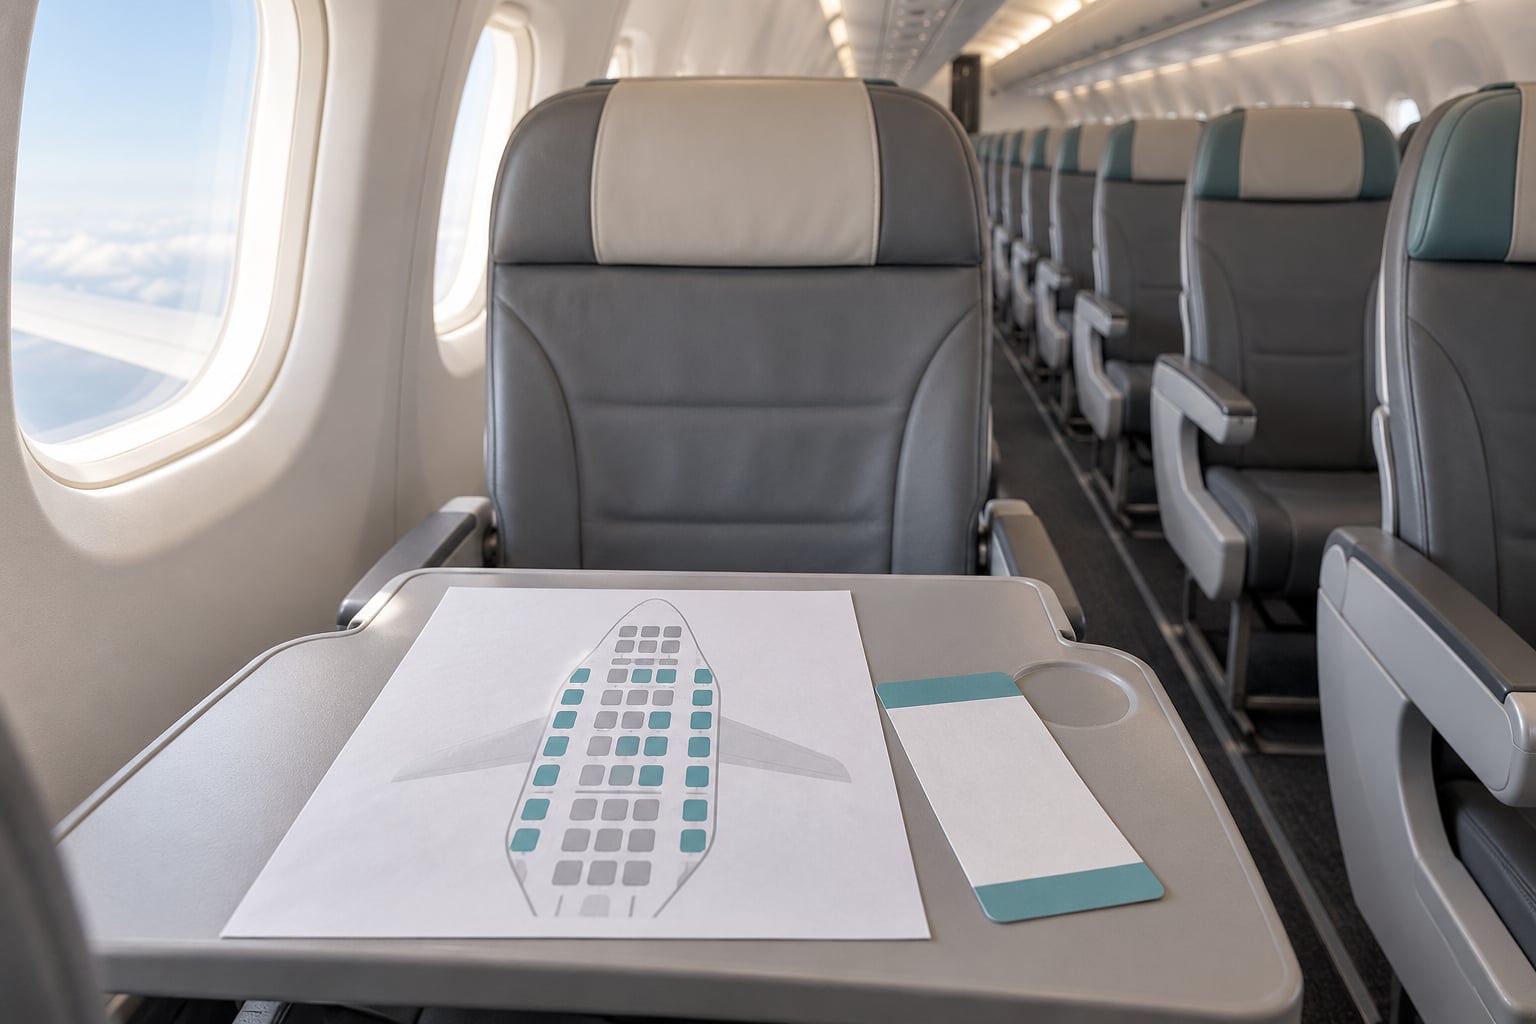
On the map, mark four things: where the galley and lavatories are, which rows are exit rows, which rows have a bulkhead in front of them, and whether any window seats sit in a row where the window is offset or missing. If the seat map is a plain rectangle with no aircraft details, treat it as a starting point only and cross-check on a third-party seat map tool before you commit.
| Seat type | Works best for | Watch out for |
|---|---|---|
| Window | Sleeping, views, controlling the shade | Tangled legs when stretching, no easy aisle access |
| Aisle | Quick exit, stretching, frequent lavatory trips | Constant movement, harder to lean on a wall |
| Middle | Last option, or the three-seat economy trick | Two neighbours, shared armrests, no lean |
| Bulkhead | Extra legroom, baby bassinet space | No under-seat storage, tray table can feel unstable |
| Exit row | Open floor space, extra width on narrow-bodies | Age and capability rules, fixed seat in front |
| Last row | Quiet cabin, fewer people passing through | Often no full recline, near a lavatory |
Step 2: Decide What Matters Most for Your Trip
Now rank your priorities, because you cannot have all of them at once. Almost every seat tradeoff in aviation is legroom against walkability, or quiet against views, and there is no configuration that wins both.
Rank these, in your own order: legroom, easy movement, a quiet ride, views, extra storage, being near a bathroom, and travelling with a baby. A frequent flyer of tall people on frequent-flyer benefits would rank legroom first; a nervous first-timer ranks predictability and proximity to the crew; someone on a 40-minute connection ranks distance to the exit door.
For most red-eyes, the ranking is sleep first, which pushes toward a window seat away from the shade you cannot control, and toward a side of the aircraft that keeps the sun off you for the long stretch of daylight. For anyone working, an aisle seat with a power outlet beats a scenic window seat every time.
Write the ranking down. When the map is showing you three similar-looking rows, the ranking is what breaks the tie.
Step 3: Check the Aircraft and Row Differences
The same airline sells very different seats on the same route, because it flies different aircraft on different days. A narrow-body is typically three seats across with tighter pitch than a wide-body, and the wide-body gives you a seat width and pitch difference you can feel in your knees within the first ten minutes.
Seat pitch is the distance between rows and the quickest way to compare two aircraft, while seat width is the hip room between armrests and usually matters more on long flights. Both vary within a single aircraft, because a carrier may fit extra rows of seats in one section and not another to hit a fare class.
Watch for rows where recline is restricted. The last row before a bulkhead, the row immediately behind an exit row, and the final row of the cabin often have a fixed upright seatback. The reason is that the exit row needs a full unobstructed space behind it, and the tail section cannot recline far enough to clear the curve of the fuselage.
Check the aircraft code before you compare anything, because how to choose the best seat on a plane changes with the jet you are on, not with the airline you bought the ticket from. If the airline labels a row as having limited recline on the seat map, believe it. Finding out at 35,000 feet is the worst version of finding out.
Step 4: Consider Noise, Movement, and Service Paths
Noise comes from predictable places. Galleys, where crew work, and lavatories, which are used by the entire cabin, generate the most complaints. Rows within a few seats of either are where the service path runs, and a full service cart or a queue at the door will wake you up on a night flight.
That said, proximity is a signal, not a verdict. Cabin staffing, the aircraft’s acoustics, and where you sit relative to the service path all shift the result, and plenty of flyers report a quiet red-eye two rows from a galley while others dread a seat a full cabin away from one. Engines are quieter on modern narrow-bodies than older jets, which changes the maths for anyone who assumed the back was always the loudest spot.
Turbulence has its own geometry. Most bumps trace back to the wings, so a seat directly over a wing feels more of them, while rows ahead of the wing on a wide-body tend to ride the smoothest. The rear of a narrow-body is also lively, because that is where the aft galley works.
Check whether your flight is even likely to serve a galley, and skip the worry if the map shows no service carts in your section.
Step 5: Choose the Best Seat for Your Body and Accessibility Needs
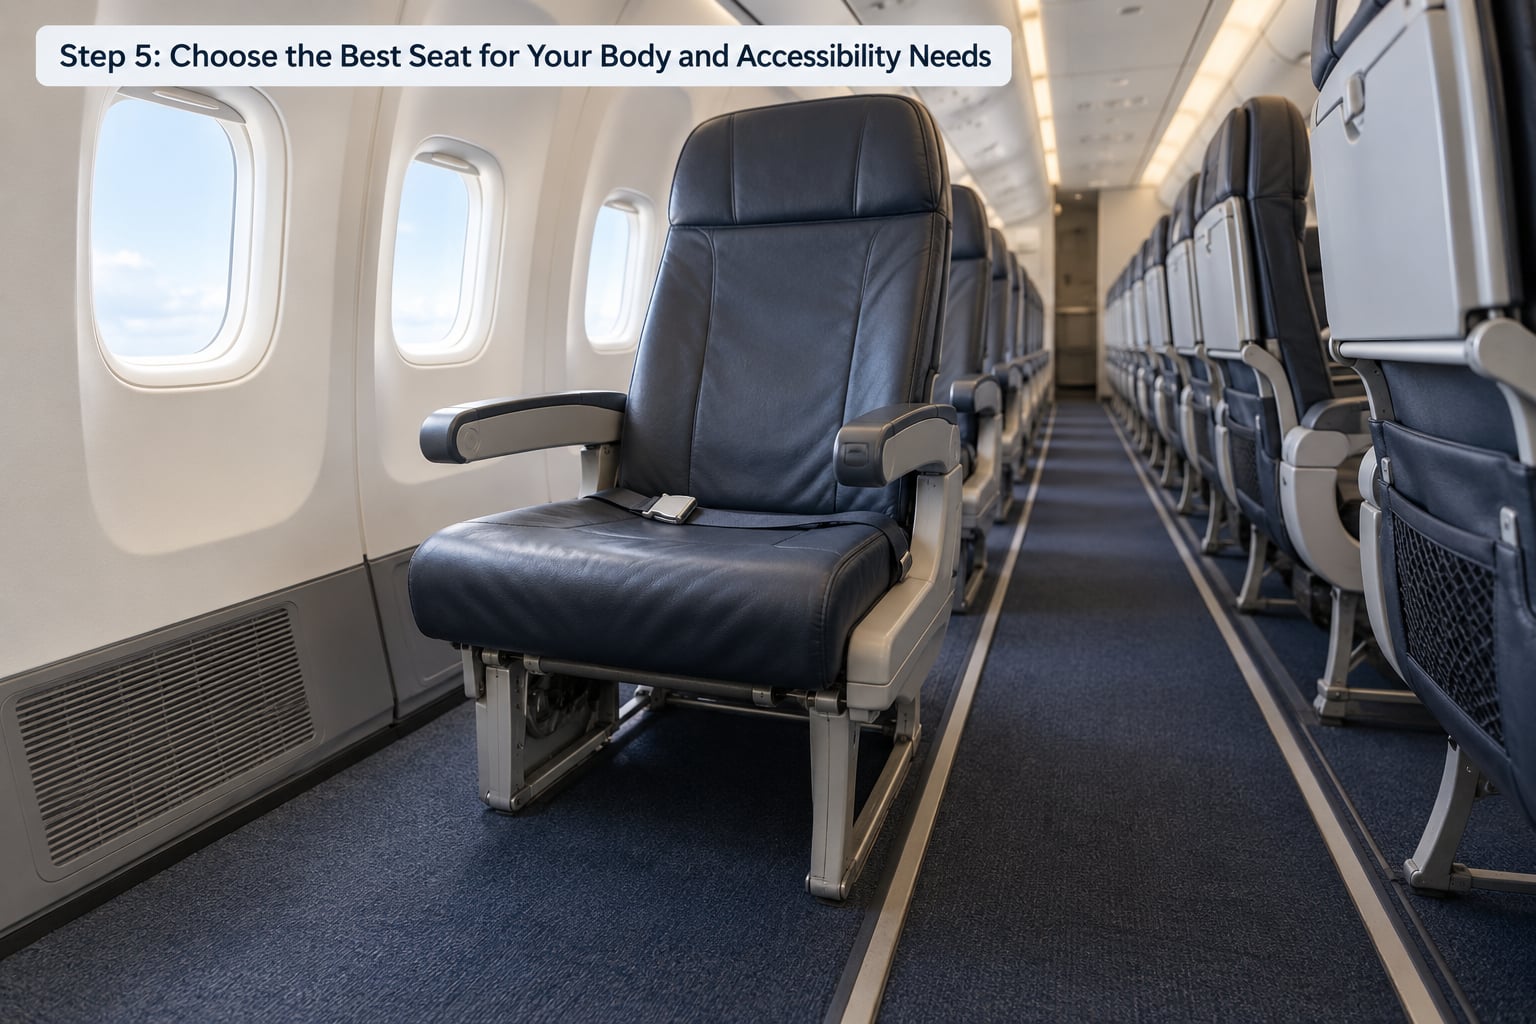
Height and back history are the two most underrated inputs. Tall passengers should aim for an exit row or a bulkhead row on a narrow-body, since the extra floor or wall space is worth more than pitch alone. Anyone with a bad back or a stiff hip generally fares better two or three rows forward of the wing, where the ride is smoothest and the pitch often opens up.
Reduced mobility changes the calculation completely. An aisle seat close to the front of the cabin means fewer steps, an earlier deplaning and a shorter walk to the lavatory, which is the single biggest practical difference on board. A window seat in the back of the plane can mean two long minutes of shuffling past strangers while the aisle is full, every time you need the toilet.
Travelling with children shifts priorities toward the lavatory and the galley, but note that airlines typically only allow bassinets in bulkhead rows, which is exactly where the crying tends to concentrate. If you are booking a bassinet, ask for it at booking rather than hoping at the gate.
For mobility devices, oxygen needs, or any assistance at all, contact the airline directly before the trip and before you pay. Special assistance requests are handled by the airline’s own teams, and they are far easier to action days ahead than on the morning of departure. If your booking came through a travel agent, the agent can usually pass the request through for you.
Step 6: Check Availability Before You Pay
Before you check out, confirm the seat is actually on sale in your fare. Extra-legroom and preferred seats are often restricted to certain fare classes, and a carrier can close the map for some rows while leaving others open.
Read what is included. Some fares come with free seat selection at booking, some only allow it at check-in, and some basic economy products lock the seat at purchase or leave it to the airport. Fee amounts, change rules and refund conditions vary by airline, route, fare and ticket type, so check the specific fare rather than assuming from past flights.
Then check the change policy. Long-haul itineraries often span two aircraft, and a free change or a schedule change can move you to a different jet with a different seat map, taking your carefully chosen row with it. If you paid for a specific seat, ask what happens to that payment if the aircraft swaps.
If you fly often, status and card benefits are the quiet way to a better row. Elite tiers, some credit cards and cabin upgrades all come with preferred or extra-legroom seats as a perk, so it is worth a two-minute look at what your existing accounts already give you.
Step 7: Confirm the Choice When You Board
Check in online when your airline opens it, usually around 24 hours before departure, and re-select the seat if the map has changed. Check-in is also the last point where many people discover their seat was given away or blocked.
On the aircraft, verify three things: the row matches what you booked, your exit row is permitted, and the layout matches the seat map. Exit row passengers generally must be at least 15, able to perform the assigned evacuation duties, and able to move without assistance, and crew can reassign anyone who does not meet the rules.
If you need a different seat, ask the gate agent. Early, while the queue is forming and before the door closes, is the courteous and effective moment. A polite request with a reason, such as a lavatory need or a bad back, gets better results than a demand. Some flyers track seat changes with alerts so they can act as soon as the map opens.
If the aircraft was swapped and your seat is no longer what you paid for, raise it at the gate rather than after landing.
Common Mistakes
Treating every row as the same. Seat pitch and width change from section to section within one aircraft, and often between the outbound and return of the same trip. Fix: find the aircraft code for each flight and read each map separately, even when you booked them together.
Choosing on aisle or window alone. That answers one question and leaves four open, which is how you get a beautiful window seat two rows from a lavatory. Fix: run the seat type against your priority list from Step 2 before committing.
Ignoring restricted recline. The row in front of an exit row, the row behind a bulkhead and the final row frequently have a fixed or shortened recline. Fix: read the seat notes on the map, and never pick one of these rows on an overnight flight.
Booking an exit row without meeting the rules. This one gets resolved at the gate, usually by moving you anyway, which means you paid for a seat you did not get. Fix: self-select out if you are under 15 or need assistance, and pick an aisle or bulkhead row instead.
Treating the seat map as a guarantee. A seat map is a plan, not a promise. Equipment swaps, blocked rows for crew rest, and late operational changes all move people. Fix: re-check at check-in, then at the gate.
Paying for a seat before checking whether you already had one. Many tickets include free seat selection, and some long-haul cabins include a seat in the fare without saying so loudly. Fix: read the fare rules before the payment screen, not after.
A few quick tips that cover most cases: board last if you want your overhead bin space to yourself, bring a scarf or light layer because galley and window rows run hot on some aircraft, and skip the row directly behind a baby bassinet if you are hoping to sleep. If the map is unreadable, a third-party seat map tool with real photos of the aircraft layout is more reliable than a generic diagram.
Frequently Asked Questions
Is an aisle seat always more comfortable?
No. An aisle seat wins on stretching, quick deplaning and bathroom access, but you cannot lean against a wall, and the aisle traffic wakes you on overnight flights. A window seat wins for sleep, shade control and views. For long trips with a bad back or a stiff hip, aisle near the front usually beats window at the back. Match the seat to your ranked priorities rather than the seat label.
Which airplane seats are usually the least comfortable?
The three that cause most complaints are the last row, which often cannot recline far, the row directly behind an exit row, which is fixed upright, and seats a few rows from a galley or lavatory on the service path. A middle seat in a full three-across row ranks poorly too, because you share both armrests and cannot lean out. Check the seat notes on the map to confirm restrictions.
How far forward should I sit on a long flight?
For most long-haul trips, two to five rows behind the wing in economy is the sweet spot, where ride turbulence is often mildest and pitch commonly opens up. Sit too far forward and you absorb service and premium cabin noise. Sit too far back and the aft galley works behind you. Check your aircraft map, since a bulkhead or exit row nearby changes the calculation entirely.
Does choosing a seat guarantee extra legroom?
Only if the seat is labelled extra legroom or preferred on the map. A front row or an exit row often looks roomy on a diagram, but real pitch varies by aircraft and by how the carrier has configured that section. Read the seat type label rather than judging from position, and check whether your fare class is even allowed to select that row before you pay for it.
Should I avoid the row in front of an emergency exit?
Usually yes, and not for a dramatic reason. That seatback is fixed upright so the exit row behind it has a clear escape space, so you will be sitting upright for a long flight. The row itself is often perfectly comfortable on pitch. It is a bad pick for sleeping, and a good pick if you value a short walk out and do not mind sitting straight.
Can I change my seat after checking in?
You can, if any suitable seat is still open. Seats often open late as boarding progresses, and gate agents can reassign you when the aircraft changes. Ask early and politely, before the door closes, and give a short reason. A fee paid for one seat is not always refunded for another, so read the fare rules, and re-check the map after check-in opens for a free move.
Conclusion
Start with the seat map for your actual aircraft, not a generic diagram, and know the flight length before you look at rows. Rank what matters to you, then pick the seat type and row that match, and re-check the choice at check-in and again at the gate. That is how to choose the best seat on a plane without overthinking it, and the whole process costs you five minutes.