To check in for a flight online, go to your airline’s official website or mobile app, tap Check-In or Manage Booking, and enter your booking reference with the passenger’s last name exactly as it appears on the ticket. Most airlines open check-in 24 to 48 hours before departure, and you get a mobile boarding pass a minute later. It takes about two minutes and you can do it from a sofa in your pajamas.
The catch is that check-in is where a small typo in a name turns into a problem at the airport counter. So this guide walks through the whole thing, including the four error messages that block most travelers and what actually fixes each one.
Table of Contents
- 1What You Need Before You Start
- 2When check-in opens by airline
- 3How to Check In for a Flight Online: Step-by-Step
- 4Find the Airline’s Official Check-In Page
- 5Enter Your Booking Reference and Passenger Details
- 6Confirm Travel Documents and Flight Details
- 7Choose or Confirm Seats and Add-Ons
- 8Complete Security Questions and Payment
- 9Receive and Save Your Boarding Pass
- 10What to Do at the Airport After Checking In Online
- 11Why Online Check-In Fails: Common Mistakes and the Fix
- 12Frequently Asked Questions
- 13How early can I check in for a flight online?
- 14Do I still need a boarding pass if I check in online?
- 15Can I check in online if I have a checked bag?
- 16Why can I check in but not get a boarding pass?
- 17Why can’t I check in online for my flight?
- 18Is it better to check in online or at the airport?
What You Need Before You Start
You need five things ready. Miss any one of them and you’ll hit a dead end on the last step.
- Your booking reference, also called the confirmation code, record locator or PNR. It’s usually six letters, sometimes six letters and two numbers. It sits in the confirmation email from the airline.
- The passenger’s first and last name exactly as they were typed into the booking. Capitalisation and spacing barely matter, but spelling does, and the name has to match your passport or ID.
- Your passport or travel-document details for international flights: number, issuing country, date of birth and expiry date. Airlines check these against watchlists before issuing a boarding pass.
- A payment method for checked bags, seat selection or other extras, if your ticket doesn’t include them.
- A phone or laptop with a screen big enough to read the barcode. If you plan to save the pass to Apple Wallet or Google Wallet, use the phone that wallet lives on.
One rule matters more than the rest: use the airline that actually flies your flight, not the site you paid. If you booked through a travel agency or a partner airline’s website, the airline operating the aircraft runs check-in. Go to that carrier directly, enter your reference, and the booking will be waiting.
When check-in opens by airline
Windows vary, and the range people quote online is real but not universal. Typical figures, always confirmed on your own airline’s page:
| Airline | Online check-in opens | Note |
|---|---|---|
| Most US carriers (American, Delta, United, Southwest) | 24 hours before departure | Often exactly 24 hours, so set an alarm |
| KLM and Air France | 30 hours before departure | 24 hours for flights to or from the United States |
| Turkish Airlines | 24 to 48 hours | Can vary by departure airport |
| Many European carriers (Lufthansa, British Airways, easyJet) | 30 to 48 hours | Low-cost carriers usually sit at the shorter end |
| Many Asian carriers (ANA, Japan Airlines, Singapore Airlines) | 48 hours | Earlier opening is common on this network |
Check-in is not a deadline that opens once and stays open until you leave. If your flight is rescheduled or you’re reaccommodated after a cancellation, the window reopens and you should check in again so your seat priority is preserved.
How to Check In for a Flight Online: Step-by-Step
Find the Airline’s Official Check-In Page
Open the airline’s app or type its web address directly into your browser. The check-in link usually sits in the main menu, often labelled Check-In, Check In Now, or Manage Booking, and it is frequently the second or third item on the home screen.
Look at the airline name in the header before you type anything. If you booked a codeshare flight, your ticket shows two airline codes, and the one that operates the aircraft is the one you need. Typing the wrong reference into the wrong airline’s site produces a cheerful “we could not find your booking” message, which is the single most common cause of that error.
Worked: the page header shows your airline and offers check-in with a reference field visible without an account.
Enter Your Booking Reference and Passenger Details
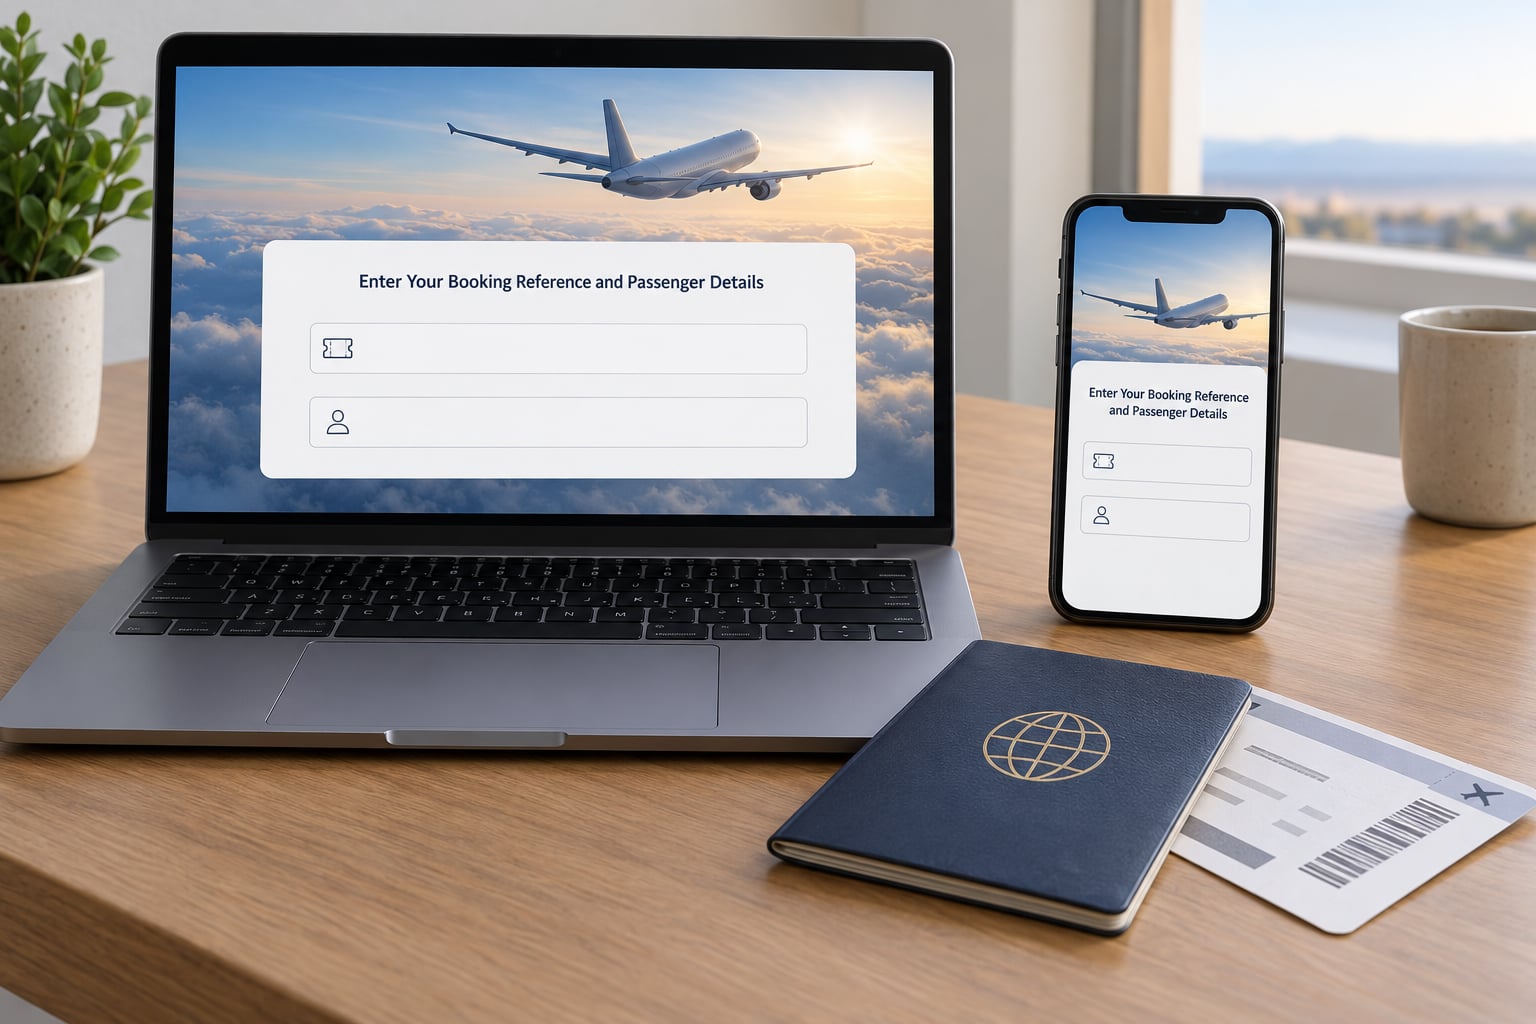
Type the booking reference into the reference field, then enter the passenger’s last name as it appears on the booking. Many airlines ask for a first name too, and a few ask for the date of birth on international itineraries.
If the booking covers a family or a group, the airline usually lists every passenger on one screen. Tick yourself and your companions at this stage, because you can only answer document and seat questions for people you selected. One person can check in the entire reservation, which is why a group checking in together usually saves time.
Check how many segments show up. A booking with a connection displays each leg separately, and you have to answer the document questions for every segment before the check-in button unlocks.
Worked: your name appears in the passenger list with the correct flight, date and destination.
Confirm Travel Documents and Flight Details
This is the step that catches typos. Read the name on screen exactly as it appears in the machine-readable zone of your passport. A middle name that’s missing, a surname written as a compound with a hyphen, or a second given name on the ticket that isn’t on the document can all block the boarding pass from being issued.
Confirm the rest too: departure date, origin and destination airports, departure time and terminal. Times shift, and a schedule change discovered three days out is a much easier problem to fix online than one discovered at the gate.
On international flights the form asks for your passport number, country of issue, nationality and expiry date. Airlines verify these against security databases, so a wrong digit produces a generic “international document failed” message rather than a useful one. Type the number from the passport page, not from memory.
Worked: the flight details match your itinerary and the document screen no longer shows an error when you tap through it.
Choose or Confirm Seats and Add-Ons
Seat selection appears at this point, and for most carriers it’s free. If your ticket already includes a seat choice, you’ll see it marked as reserved rather than being asked again.
Paid extras usually cluster here: advance seat selection, priority boarding, extra-legroom seats, extra bags and sometimes a travel insurance pitch from a third party on the same page. Before you tap anything, ask yourself whether the fee is genuinely required for your ticket. A basic economy fare often excludes seat choice and carry-on entirely, while a standard fare usually includes both, and the difference between fares is usually cheaper than the add-ons.
You can add bags now or later, and doing it here saves queueing at the counter. If you travel with a car seat, adding it during check-in is often treated as a cabin item rather than a checked bag, which is cheaper in many cases and unlocks the digital boarding pass.
Worked: your seat assignment shows on the trip summary and you can see the running total of any fees before you pay.
Complete Security Questions and Payment
The last screen usually asks two things: confirmation of who you are, for example date of birth or a frequent flyer number, and payment if anything is owed.
Check the total before you confirm. Low-cost carriers in particular tend to reveal a bag or seat fee at the very end of the flow, and that surprise at the final step is the reason some people abandon online check-in entirely. Read the itemised list rather than the headline number.
Pay through the airline’s own checkout, not a link in a text message or email. If you are on public wifi at a hotel or airport, the mobile app is usually the safer route because the payment flow is contained inside it.
Worked: you get a confirmation and the booking status changes to Checked In.
Receive and Save Your Boarding Pass
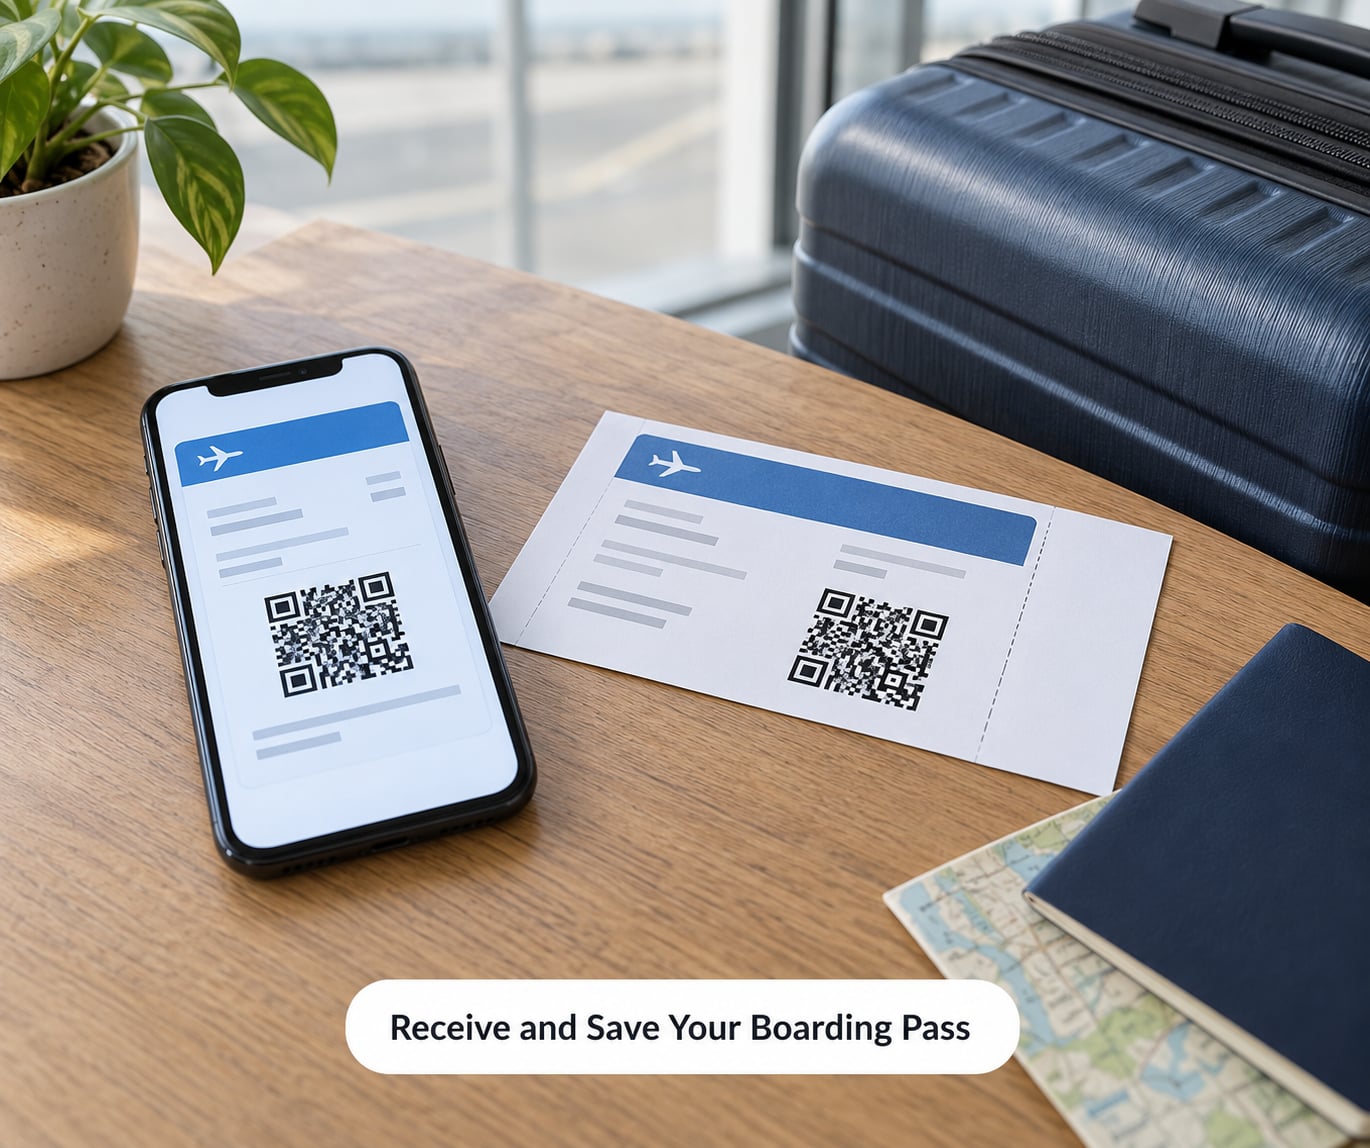
Your boarding pass appears as a barcode or QR code. Open it and check the passenger name, flight number, date, departure airport, gate if assigned, and seat. If any of those is wrong, fix it now rather than at the gate.
Add it to Apple Wallet or Google Wallet if your airline supports it. The pass then sits on your lock screen and often works at security even when your phone has no signal, which matters because scanners at smaller airports run offline. If the wallet save fails, take a screenshot of the pass inside the airline’s app rather than a screenshot of your confirmation email, and print a copy as a backup if you’re flying with a connection or a low-cost carrier that insists on paper.
Worked: you can show the pass at security without unlocking into a website, and a screenshot of it exists in your camera roll.
What to Do at the Airport After Checking In Online
Check-in is not boarding. It confirms your identity, issues the pass and, with a seat assigned, usually secures your place on an oversold flight. Everything physical still happens at the airport.
If you have carry-on luggage only, you go straight through security to the gate. No desk, no kiosk, no queue.
If you have checked bags, you stop at the bag drop counter or a self-service kiosk first. Have your boarding pass ready, and note that checked-bag acceptance closes well before departure, commonly 45 to 60 minutes on domestic flights and 60 to 75 minutes on international ones.
After that it’s security, then the gate. Boarding usually starts 30 to 45 minutes before departure and the gate closes 10 to 20 minutes before the scheduled time, so “the flight is at six” is not the same as “be at the gate by six.”
Why Online Check-In Fails: Common Mistakes and the Fix
If online check-in fails, nothing catastrophic has happened. Your reservation is intact, the flight is still booked, and the airport desk will check you in for free. The only thing you’ve lost is the queue shortcut and any priority from an early seat assignment.
| What you see | Why it happens | The fix |
|---|---|---|
| Booking not found | Wrong airline’s site, or the reference typed with a mistaken letter | Go to the operating carrier and retype the reference slowly, character by character |
| Check-in button not available yet | The window hasn’t opened, or you’re early for a later segment of a connecting trip | Check your airline’s own window rather than a general rule of thumb |
| It says you’re already checked in | A travel agent or the airline itself already processed it | Look for the boarding pass inside the app, or ask the airline to release the record so you can re-check in |
| International document failed | Passport number, name or expiry date doesn’t match what was entered | Re-type the details exactly from the passport page and submit again |
| Name doesn’t match | The booking name differs from the travel document | Most airlines let you correct a minor error online; a significant mismatch usually has to be fixed at the airport and may carry a change fee |
| No boarding pass, but check-in is confirmed | A document verification step failed silently, or the passenger is flagged for a manual identity check | Contact the airline before you travel and ask them to clear the document check |
| SSSS on the ticket | A US government passenger-screening status that requires identity verification in person | You cannot check in online at all; go to the check-in desk with your ID early |
| No seats left | Paid and free seats are allocated in stages, and the aircraft is filling up | Check in at the first moment the window opens; a paid seat is often cheaper then too |
| App crashes or spins forever | A stale app version or a browser cache problem | Use the airline’s website instead, or update the app and clear the browser cache |
| Boarding pass won’t save to Apple Wallet | The airline doesn’t support wallet passes for that fare or itinerary | Screenshot the pass from inside the app and, if you’re flying with a connection, print a copy |
A few things you cannot do online, no matter which airline you fly. Passengers who need wheelchair or special assistance, passengers travelling with a service animal, anyone flying with a pet in the cabin, and unaccompanied minors all have to be processed in person. The same applies to excess baggage that needs to be weighed and accepted at the counter.
A couple of final tips. Check in the evening before, not on the morning of the flight, because early check-in assigns seats earlier and gives you the best odds if the flight is oversold. And check your booking again 24 hours before departure for gate and delay notifications, since a change after check-in can move your seat.
Frequently Asked Questions
How early can I check in for a flight online?
Most airlines open online check-in 24 hours before departure, and many European and Asian carriers open it 48 hours ahead. KLM and Air France typically open at 30 hours, dropping to 24 hours for flights to or from the United States. Check your own airline’s page, since these windows change and codeshares sometimes follow the operating carrier’s rules rather than the ticket you bought.
Do I still need a boarding pass if I check in online?
Yes. Checking in online is not the same as boarding. The boarding pass is the artefact that gets you through security and onto the aircraft, and online check-in is simply how you obtain it. Save it to Apple Wallet or Google Wallet, screenshot it inside the airline app as a backup, or print it. You still pass through security, and you still need to be at the gate before boarding closes.
Can I check in online if I have a checked bag?
You can, and most people should. Online check-in lets you pay for the bag in advance, which is usually cheaper than paying at the airport counter. You then stop at the bag drop counter or a self-service kiosk to hand the bag over, because bags cannot be accepted through a screen. Checked-bag acceptance closes earlier than boarding, commonly 45 to 60 minutes before a domestic departure.
Why can I check in but not get a boarding pass?
Usually a document check. Airlines compare your passport or ID details against security databases before issuing a pass, and a failed verification lets the check-in complete but blocks the boarding pass from printing. Common causes are a mistyped passport number, a name that doesn’t match the machine-readable zone, or a passport close to expiry. Call the airline before you travel so they can clear it.
Why can’t I check in online for my flight?
Common reasons include a name mismatch with your passport, an SSSS Secure Flight status printed on the ticket that requires in-person identity checks, a booking held by a third-party site, an already-checked-in reservation, or a window that hasn’t opened yet. None of these cancel your booking. The airport check-in desk remains free and available, so go there with your ID and your booking reference.
Is it better to check in online or at the airport?
Online is faster in every scenario, and it costs nothing extra with most airlines. The airport desk stays free for the same service, which matters for passengers needing special assistance, travelling with pets or unaccompanied minors, or carrying something that has to be weighed. Some low-cost carriers charge for products offered during online check-in, so read the total before confirming. If you have a connection, check in early and know your cut-off times.
Do this first: find your booking reference, open the operating airline’s site, and check in the moment the window opens. Read the passenger name on screen against your passport before you accept anything, save the boarding pass to your wallet, and take a screenshot. If it fails, the desk is still there and your seat is still booked.