You can get a local SIM card abroad in three places: buy one online before you leave, pick one up at an airport kiosk or carrier desk the moment you land, or walk into a carrier store, supermarket or convenience shop in your destination. The right channel depends mostly on how long you are away and how many countries you cross.
Here is the short version of the decision: stay in one country for several weeks and buy a local SIM, because a prepaid chip sold by a carrier in that country gives you a local number and local rates. Crossing several borders or flying out for under a week, and a travel eSIM or an international plan usually beats a local one on convenience, even if each gigabyte costs more.
Everything below is written for the person standing in an arrivals hall with no data, plus the person who wants to sort it out from the sofa three weeks before the flight. Costs, coverage and registration rules differ by country and change often, so treat the specifics as a framework rather than a price list. Last reviewed for 2026.
Table of Contents
- 1What You Need Before You Get a Local SIM Card Abroad
- 2Step-by-Step: How to Get a Local SIM Card Abroad
- 3Step 1: Check Whether Your Phone Works Abroad
- 4Step 2: Compare Local, International, and eSIM Options
- 5Step 3: Choose a Provider and Plan
- 6Step 4: Buy the SIM or eSIM
- 7Step 5: Register and Activate the Service
- 8Step 6: Test Data, Calls, and Coverage
- 9Common Mistakes
- 10Frequently Asked Questions
- 11Can I use a local SIM card in an unlocked phone?
- 12When should I buy a local SIM card for my trip?
- 13Is an eSIM better than a physical SIM card abroad?
- 14How much mobile data do I need for international travel?
- 15What should I do if my local SIM card will not activate?
- 16What to Do First
What You Need Before You Get a Local SIM Card Abroad
Four things decide whether the purchase takes five minutes or an afternoon of queues: an unlocked phone, the right ID, a way to pay, and a device that suits the format you plan to buy.
First, an unlocked handset. A phone bought on a contract is often locked to that carrier and will refuse a foreign SIM even when the tray fits perfectly. If your carrier offers an unlock, request it before you leave and give it the few days it can take.
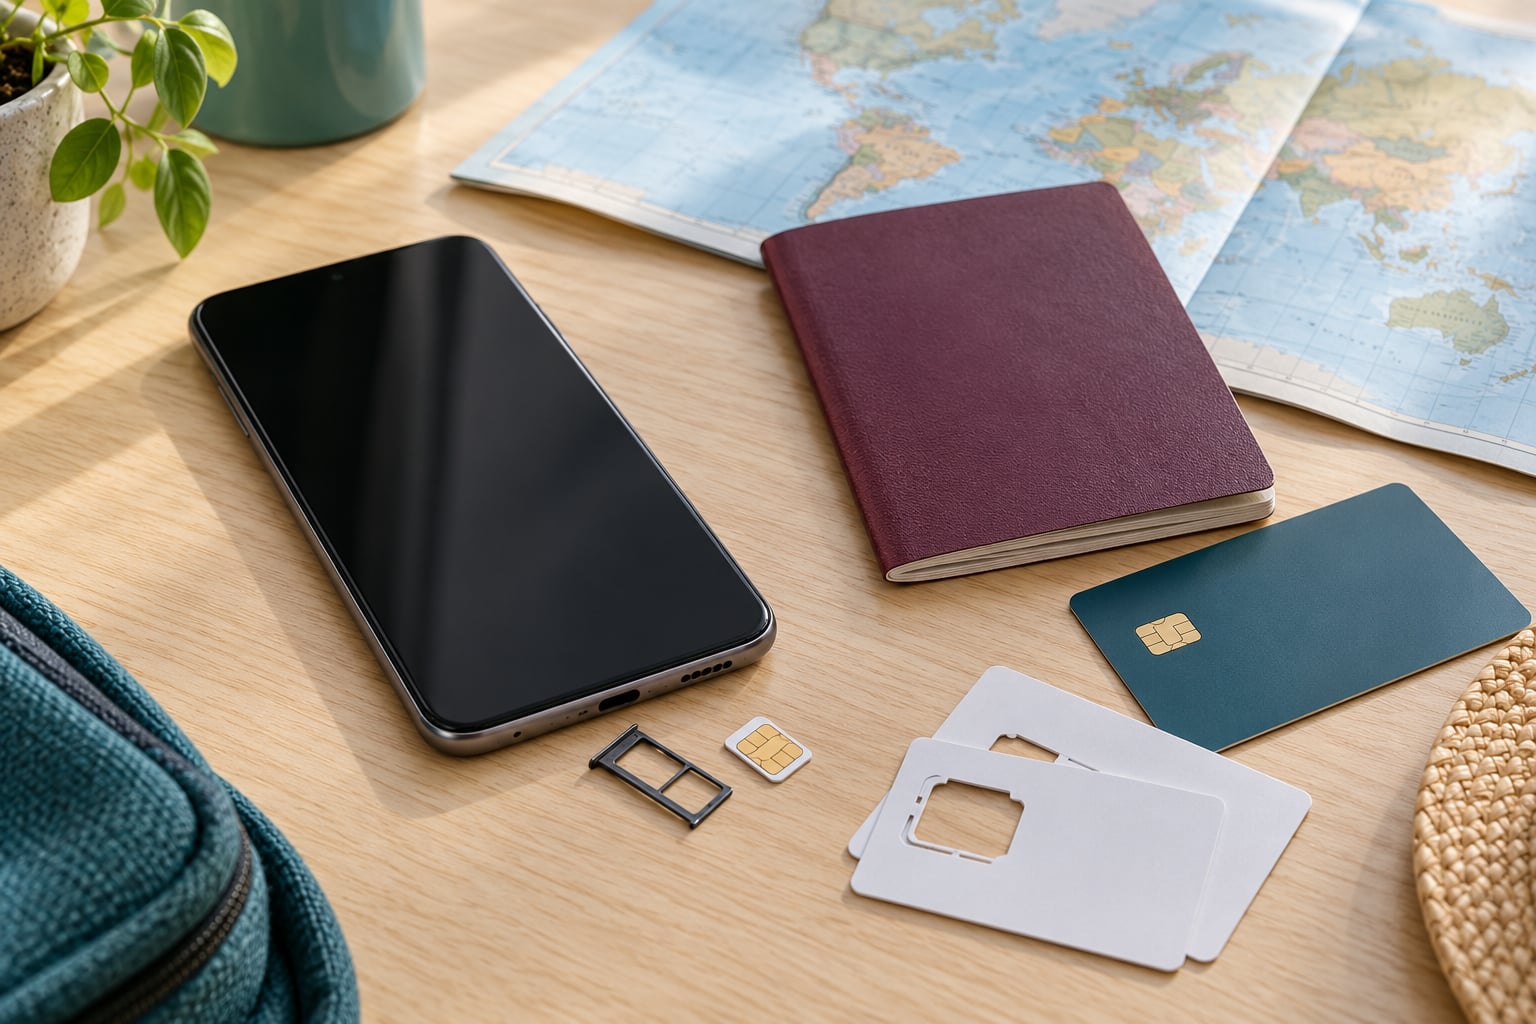
Second, physical size. Travel SIMs usually arrive as a full-size card with adapters, but plenty of carriers now hand out nano-only cards, so check what your phone’s tray actually takes before you commit.
Third, identification. Many countries require the buyer’s passport number, and some local carriers register it in person. A digital copy on your phone is often rejected, so carry the document or a certified copy.
Fourth, a payment method. Airport kiosks and some carrier stores take cards and cash, while smaller shops are card-only or cash-only, which matters in markets where card terminals are rare.
Check these before departure, not in the airport:
- An unlocked phone, or an unlock request already submitted to your carrier
- The SIM format your tray accepts: standard, micro, nano or eSIM only
- Your passport, plus the same document used for any booking you will need to reference
- A payment card plus a little local cash as a backup
- The destination’s main mobile operators and their coverage, checked on the carrier’s own site
Step-by-Step: How to Get a Local SIM Card Abroad
The order below is deliberate. Compatibility first, then the channel, then the plan, then the paperwork, because buying the wrong format at the wrong counter is the single most common way to end up stuck at an airport desk.
Step 1: Check Whether Your Phone Works Abroad
A local SIM only works if your handset is unlocked, accepts the SIM format, and supports the cellular bands used in your destination. If it ticks all three, a prepaid local card will drop straight into the tray and register on a network within a minute or two.
Find the unlock status first. On iPhone, look under Settings, then General, then About, next to Carrier Lock. On Android, the wording varies by maker, but the network or SIM status page usually reports whether the device is locked to a carrier.
Then check bands. Phones sold for one region often lack some of the bands used elsewhere, particularly older models sold in a single country. The carrier’s coverage map plus a quick search of your exact model number and the bands it supports will settle it.
For eSIM, confirm the device supports it at all. Most phones from around 2019 onward do, iPhone XR and XS being the common floor, and the check is under Cellular on iPhone or SIM manager on Android. If you import a phone bought for one market, note that some imported handsets never had eSIM enabled.
You will know this step worked when your handset shows as unlocked, offers the SIM format you intend to buy, and lists the local network as an option.
Step 2: Compare Local, International, and eSIM Options
Three routes cover almost every trip, and they trade convenience against cost in opposite directions. Knowing which one you are buying tells you what documents to bring and how much setup to expect.
A local prepaid SIM is sold inside the destination country and works on that country’s networks. It is the cheapest per gigabyte by a wide margin, usually includes a local phone number, and often needs either no paperwork or a passport number at the counter. Its drawback is that you cannot buy it until you are in the country.
An international SIM bought before departure can be ordered online and delivered to your home or collected at the airport. It works across many countries on a host network, which suits multi-country trips, but per-gigabyte rates are usually higher than a local card and some plans bill by zone.
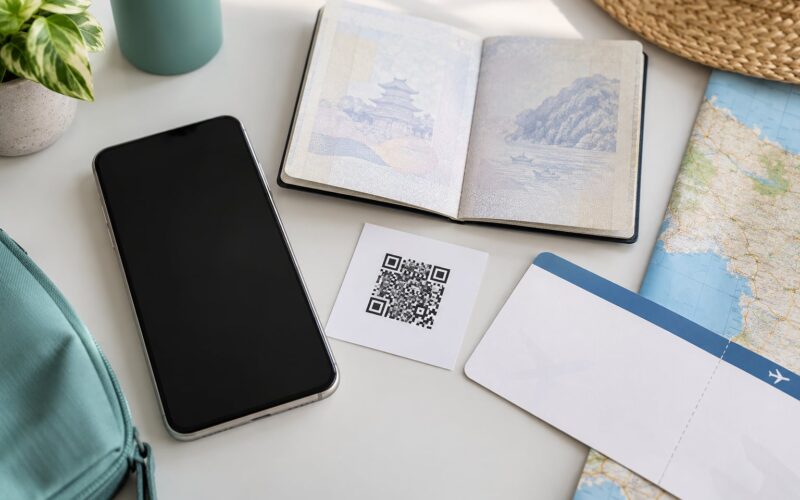
An eSIM is a profile installed digitally, either from a QR code or from your provider’s app, with nothing physical to insert or lose. It suits phones without a SIM tray, makes swapping between a home line and a travel line easy, and can be set up before boarding. The trade-off is that a failed install means no SIM slot to fall back on, and you need a screen to show the QR code.
An imported phone can also fail you outright, since some models bought for one market ship without bands or eSIM support used in others. Check your model before committing to any of this.
Step 3: Choose a Provider and Plan
There is no universal best provider, because coverage, registration rules and plan design change from one country to the next. Compare on the things that actually bite: where you will be, how much data you burn, how long the plan stays alive and whether hotspot sharing is included.
Start with coverage for your actual route. A carrier with excellent coverage in the capital can be weak in the region you are driving through, so read coverage reviews for the specific areas and check the operator’s own map for the towns on your itinerary.
Then size the data. A traveller using maps, messaging and hotel Wi-Fi can get by on a few gigabytes a month, while anyone streaming video, tethering a laptop or navigating for hours behind the wheel burns far more. Families sharing a hotspot need more than a single traveller.
Plan validity matters more than most people expect. Many tourist and travel packages expire after a fixed number of days whether or not you have used the data, so a plan for a ten-day trip can quietly run out on day eight.
| Trip type | Best fit | Why |
|---|---|---|
| Under one week | Travel eSIM or home-plan roaming | Setup before departure beats hunting for a counter on arrival |
| Two to four weeks, one country | Local prepaid SIM | Lowest cost per gigabyte and a usable local number |
| One to three months | Local prepaid SIM with a monthly plan | Per-month plans beat tourist bundles once validity runs out |
| Several countries | Regional travel eSIM or international SIM | One profile avoids a new registration at every border |
| Long stay or remote work | Local carrier monthly plan | Includes a real number, stable billing and usually hotspot rights |
Hotspot and tethering deserve a separate check. Plenty of cheap travel plans block sharing, or quietly cap it, so if you plan to work from your phone, confirm that before you pay.
Step 4: Buy the SIM or eSIM
Buy online before departure if you want the connection alive when the wheels touch. Travel eSIMs arrive as a QR code by email or in an app and can be installed at home, which means no airport queue. Physical international SIMs need delivery time, so order them days ahead rather than the evening before.
Buy at the airport if you have no plan and need data immediately. Kiosks and vending machines are fast and self-service, and carrier desks will activate the card for you, but airport prices are consistently the highest you will pay for the same data. Staff at a third-party kiosk may also take your passport details for their own records, which is one more reason to prefer an official carrier desk when one exists.
Buy in town when you have a few hours before you need connectivity. Major carrier stores, supermarkets, convenience shops and electronics retailers all sell prepaid cards, and staff in an official store are the ones who will explain registration rules and set the card up properly. Reviews on travel forums regularly repeat the same advice: going local is typically cheaper than buying at the airport, and people are almost always right.
Whatever the channel, keep the receipt, the packaging and any activation details the seller gives you until the service is confirmed and working. The printed instructions are often the only copy of the APN settings you will have.
Step 5: Register and Activate the Service
For a physical SIM, power the phone down, move the tray, drop in the card with the cut corner aligned to the notch in the tray, slide it home and power on. Most prepaid plans register on the network by themselves within a couple of minutes.
For an eSIM, request the QR code or app from your provider and install it before you need it. On iPhone, that is Settings, Cellular, Add eSIM, then scan or enter the code. On Android, open the SIM manager or the network settings and use the add eSIM or install from carrier option, then scan the code. Completing the install over Wi-Fi avoids using data you have not got yet.
Next comes registration. In many countries you supply a passport number at the point of sale or on the provider’s site, and in some the SIM is tied to your name. Rules differ by country, so follow whatever the seller or the provider’s own instructions say rather than a generic guide.
Then set the new SIM as your data line. With a dual-SIM phone, choose which line carries mobile data and which receives calls and texts, and leave your home line switched on if you rely on it for banking codes. Many travellers keep the home SIM active and make the local one the default data line, which is the cleanest way to hold a home number without paying roaming charges.
Data roaming is the switch people get wrong. With a local SIM used in its own country you normally do not need data roaming at all, and switching it on can be the reason a supposedly dead SIM bills you at home rates. With an international plan you are travelling on, the provider’s instructions usually require roaming on. Read which case you are in before you touch the toggle.
If the provider gave you APN settings, enter them exactly as written. A single wrong character leaves you with full signal bars and no data, which looks like a hardware fault and is not one.
Step 6: Test Data, Calls, and Coverage
Do the test where you can fix it: inside the shop or at the gate, not halfway to the hotel. Switch airplane mode off, confirm the carrier name appears at the top of your screen, then load a map and send a message.
A working SIM shows the local carrier name, loads a webpage over mobile data rather than Wi-Fi, and can make a call if your plan includes voice. Open your ride-hailing or wallet app too, since those are the first things that reveal a data connection that only half works.
If the plan is active but you have no data at all, work down this list:
- Restart the phone with the SIM seated properly.
- Check that mobile data is on and set to the correct line, and that Wi-Fi is not quietly covering a broken connection.
- Confirm your APN, username and password match the provider’s instructions.
- Select the network manually from the phone’s network settings to rule out a weak automatic choice.
- Check whether the plan needs activation in the provider’s app or by a phone call, which some prepaid plans still require.
- Check coverage for your exact location, and remember that indoor coverage can be poor even where the map looks green.
If the card is physically damaged, or your handset turns out to be locked after all, the fix is a new card or a newly unlocked phone rather than more settings changes.
Common Mistakes
Almost every avoidable SIM problem comes from one of six mistakes, and each has a quick fix.
Buying a SIM for a locked phone. A locked handset silently refuses the new card, and the card can look fine. Check the unlock status before you buy anything, and remember that a phone that is still under contract may not qualify.
Switching data roaming on with a local SIM. This is the mistake that turns a cheap trip into an expensive one. Data roaming is generally unnecessary on a local SIM in its home country, and only required when the provider’s instructions say so for a travel plan.
Choosing too little data. Maps, photo uploads and tethering eat allowances quietly. If your trip involves long drives or a laptop, size up rather than down, and check whether unused data rolls over or simply expires.
Leaving the APN blank or mistyped. Full signal with no data is almost always an APN or a missing manual activation, not a broken card.
Buying a physical SIM for an eSIM-only phone. Some travellers carry phones with no SIM tray at all. Check the tray before you shop, not at the counter.
Ignoring coverage for your actual route. A carrier can be excellent in one region and weak in the next. Read coverage for the towns and rural stretches you will really drive through.
A few habits make the whole trip easier:
- Download offline maps and a translation app before you land, so a dead connection never strands you
- Photograph your local number and store it somewhere you can read without data
- Keep a screenshot of every payment app and booking confirmation that needs a code sent to your phone
- Set a data usage alert so you find out about a runaway allowance before the bill does
- Save your provider’s support email or WhatsApp number, since network outages are often fixed remotely
- Ask the seller what happens when the plan runs out: some throttle to a much slower speed, others stop entirely
One last regional note. In much of the euro area, a local SIM bought at your first country of entry keeps working as you move between neighbouring countries, which is a well-known trick among travellers heading around Europe. Japan and the United States are treated more like single-country markets, where travelling domestically is roaming rather than anything you plan around in advance.
Frequently Asked Questions
Can I use a local SIM card in an unlocked phone?
Yes. A local SIM card works in any carrier-unlocked phone that accepts the same SIM size. Check that the handset is not locked to your home carrier, confirm the tray format, and make sure the model supports the cellular bands used in your destination. Import phones are the usual exception, since some models ship without certain bands or without eSIM support.
When should I buy a local SIM card for my trip?
Buy a local SIM after you land if you are staying in one country for several weeks, since it gives you the cheapest data per gigabyte and a local number. Buy a travel eSIM or an international SIM before departure for short trips or routes crossing several countries, because installation takes minutes at home and no airport queue is involved. Airport counters are the fallback, not the plan.
Is an eSIM better than a physical SIM card abroad?
An eSIM suits phones without a SIM tray, makes switching between a home line and a travel line easy, and can be installed before you travel. A physical SIM still wins when your phone has no eSIM support, when you want a number you can swap between devices, or when you need a fallback card if a digital profile fails. Many travellers carry a cheap physical card purely as backup.
How much mobile data do I need for international travel?
Most casual travellers get by comfortably on a few gigabytes per week using maps, messaging and hotel Wi-Fi, while navigation-heavy days, photo uploads and laptop tethering can multiply that several times over. Add roughly 1 to 2 GB per week for a light user, and far more if you stream video or work from your phone. Check whether hotspot sharing is included before choosing a plan.
What should I do if my local SIM card will not activate?
Restart the phone first, then confirm the SIM is seated in the right orientation and that mobile data is enabled on the correct line. Verify the APN details against the provider’s instructions, check whether the plan needs activation in an app or by phone call, and try selecting the network manually. If the card is damaged or your phone is locked to your home carrier, settings changes will not help.
What to Do First
Start with your phone, not the shopping. Confirm it is unlocked and check the SIM format it accepts, because that single check decides between an eSIM, a physical card and a wasted trip to the airport counter.
After that, match the channel to the trip: local prepaid SIM for one country and a few weeks, travel eSIM or international SIM for short or multi-country routes, and airport counters only when you need data in the next ten minutes. Keep your home line switched on if banking or two-factor codes depend on it, and set the local SIM as your data line.
Travel forums keep arriving at the same conclusion from different directions: look up the country’s operators before you land, and going local is usually cheaper than the airport queue. Prices and registration rules vary by country, so confirm them with the carrier on the day.