Backing up travel photos while traveling comes down to one habit: copy the day’s shots off the memory card to two other places before the card leaves your hand, and check that the copies opened. The whole routine takes 15 to 30 minutes a day if your gear is already packed and set up, and it is the difference between a lost bag costing you a holiday and costing you the trip.
Travel is the worst possible stretch of time to have one copy of anything. The camera is out of your sight more often than it is in it, cards fail in heat and humidity, batteries die halfway through a 60 GB transfer, and nothing you shot can be reshot. That is why every serious workflow — mine included — is built around three copies on two kinds of media with one copy somewhere else.
Below is the kit, the nightly routine, and the recovery steps, in the order you’d actually use them. If you only do one thing after reading this, set up your drive and run a test copy before you leave home.
Table of Contents
- 1What You Need
- 2Work out the storage you need before you pack
- 3Prepare the gear before you fly
- 4How to Back Up Travel Photos While Traveling: Step by Step
- 5Step 1: Set up a 3-2-1 backup system before you leave
- 6Step 2: Keep the camera card separate and labeled
- 7Step 3: Back up travel photos in the field the first chance you get
- 8Step 4: Sync a second copy to the cloud
- 9Step 5: Verify files and keep backup records
- 10Step 6: Handle transfers safely while moving between places
- 11Common mistakes
- 12Frequently Asked Questions
- 13How do I back up photos while traveling without a laptop?
- 14How much storage do I need for a two week trip of photos?
- 15Should I format memory cards in the camera or on a laptop?
- 16Is hotel Wi-Fi fast enough to back up photos?
- 17Which cloud storage service is best for travel photos?
- 18What do I do with all my travel photos when I get home?
- 19Conclusion
What You Need
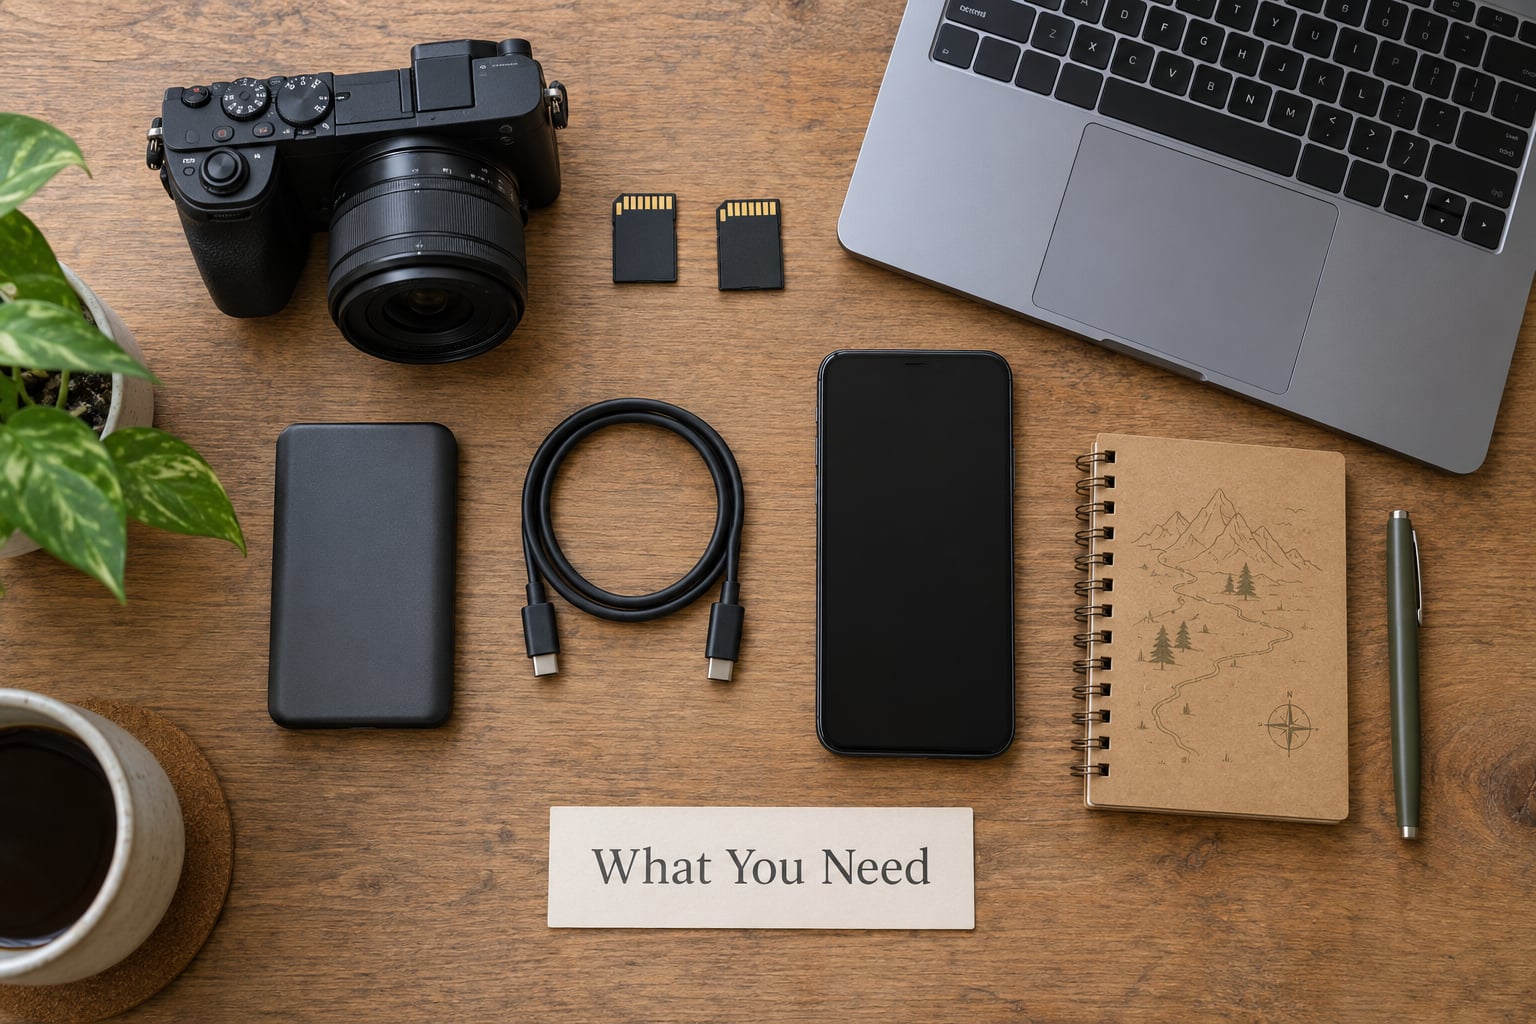
You need less than most people expect. The list below covers the setup that works whether you carry a laptop or leave it at home.
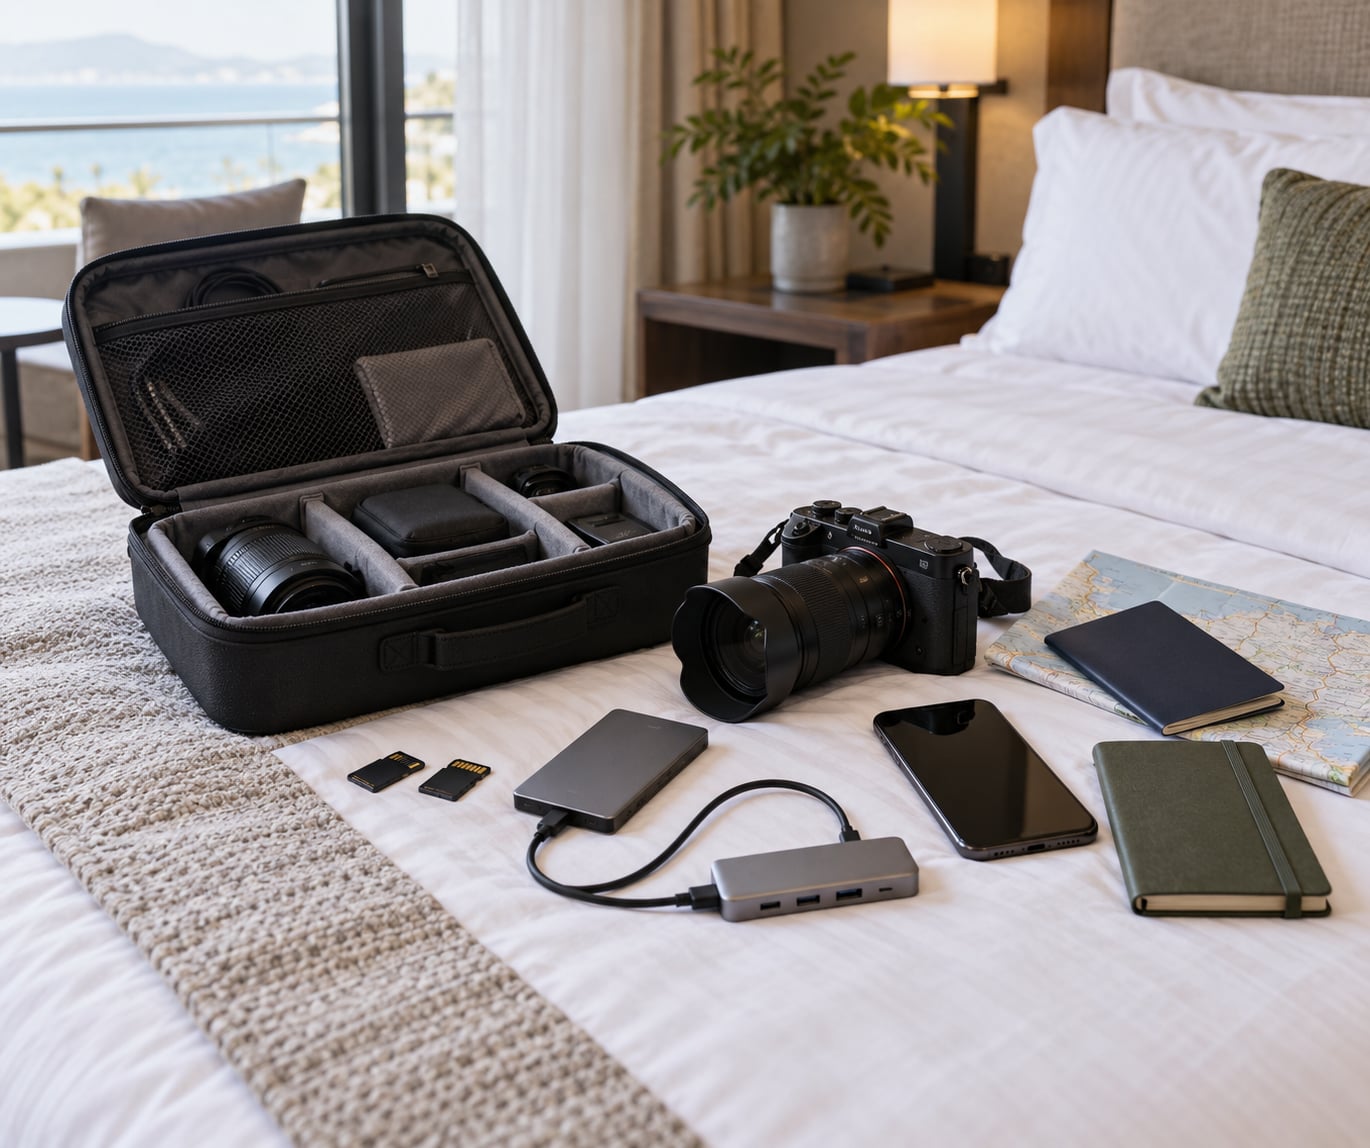
- Two memory cards if your camera has dual card slots, set to mirror or relay. Cards are cheap enough that a second one is the cheapest redundancy you will ever buy.
- A portable SSD, bus-powered, formatted ExFAT before you leave. ExFAT is the only file system that both iPhone and Android can write to without a third app.
- A USB-C hub that can take a card reader and an SSD at the same time, and ideally draws power from a battery bank. Some hubs will not run a drive hard enough to copy files without external power.
- A battery pack, because a phone that dies at 40 percent of the copy leaves you with a half-written drive and no idea which files made it.
- A card reader if you want to skip the camera entirely — read the card straight into the laptop or phone.
- A cloud account with automatic camera upload turned on, for the third copy. It costs you nothing to leave it running.
- A notebook or a notes app to write down file counts and where each copy lives. More on why that matters below.
Work out the storage you need before you pack
Travel photos are big. A RAW file from a modern mirrorless body runs roughly 20 to 30 MB, while a JPEG runs about 3 to 6 MB. Shoot 200 frames a day and a two-week RAW trip lands near 2,800 files, or roughly 60 GB. Same trip as JPEG comes to about 10 GB.
For the same math at home: 10,000 RAW files need roughly 220 GB. 10,000 JPEGs need about 45 GB. A one-terabyte SSD holds a two-week RAW trip twice over, which is the buffer most people want so an interrupted copy still has room to retry.
Buy for two copies on that drive plus a spare trip’s worth of room. That way, a failed copy never means deleting something to make space.
Prepare the gear before you fly
Format the SSD as ExFAT at home, not in a hurry abroad. Format memory cards in the camera’s own menu — it resets the card properly and you find out immediately if the card is bad instead of finding out on day nine of the trip. Set both card slots to mirror if your camera supports it. And run one complete test copy before you leave: card to laptop, card to SSD, file count checked, drive opened again.
How to Back Up Travel Photos While Traveling: Step by Step
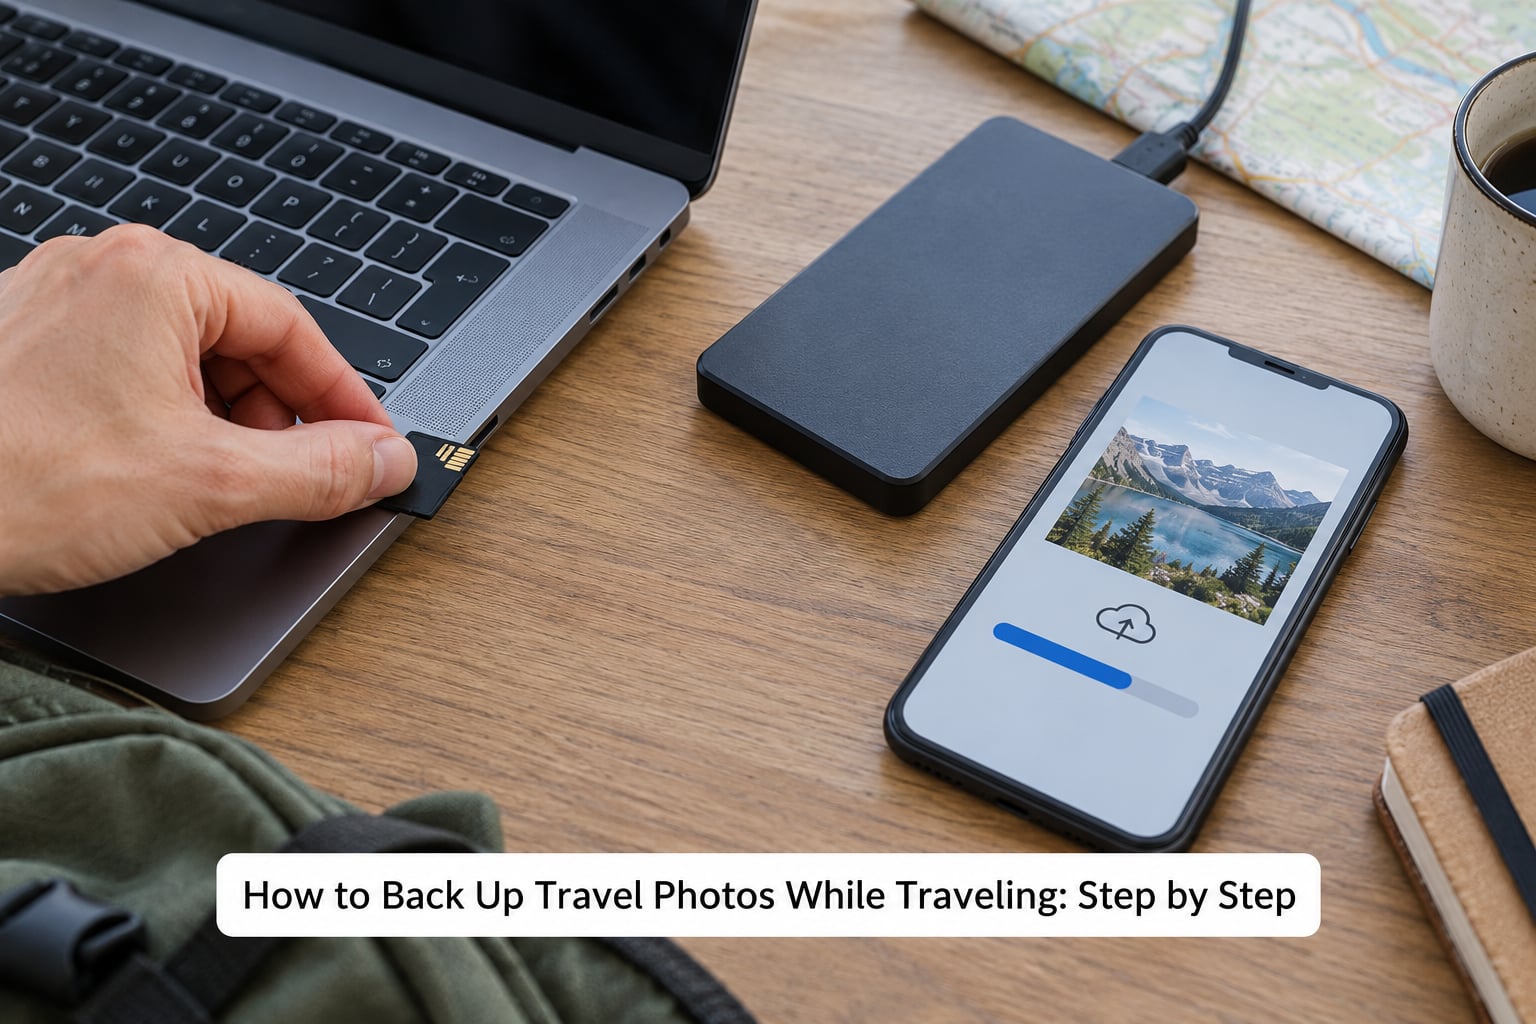
Work through these six steps in order, every shooting day. Steps 1 and 2 happen once, before departure. Steps 3 to 6 take fifteen minutes or so once you’re back from dinner.
Step 1: Set up a 3-2-1 backup system before you leave
Three copies of every photo. Two different kinds of media. One copy stored somewhere other than where you are.
On a trip, that looks like this: the card in the camera, a copy on the portable SSD in your bag, and a copy uploaded to cloud storage you cannot reach from the trip. Add a second card in the second slot and you’re carrying four. The rule is not outdated — it just means more than “a copy somewhere,” which is what most people’s setup actually delivers.
Name things before you go so step 5 takes two minutes instead of twenty. I use a folder per country and per day, like Nepal/Day-04, and identical folder names on the SSD and the laptop. Same names, same structure, no thinking later.
Step 2: Keep the camera card separate and labeled
Label cards with a piece of masking tape and a marker: capacity, camera body, and which trip. On a two-week trip, shoot to one card and keep a smaller spare in the bag as the day’s overflow, swapping every two or three days.
Never format a card in the field until the copies are verified — that’s the whole next three steps. And never reuse a card you can’t account for; a card with an unknown history is where a “card error, some files may be damaged” message comes from at the worst possible moment.
Step 3: Back up travel photos in the field the first chance you get
Do the first copy while you still have your own charger and a table. Waiting until midnight in a hotel room with a flat phone battery is how half-finished transfers happen.
With a laptop: insert the card or reader, copy the whole folder, and let the laptop finish writing before you pull anything. With no laptop, the phone is the machine. Plug the powered hub into the phone, insert the card reader and the SSD, open the file manager, and copy card folder to SSD folder. The phone is only a conduit here — the SSD is the destination that matters.
Whatever you use, copy the whole folder rather than dragging files you think are good. Half a backup is a decision you cannot revisit once you’ve left the country.
Only after step 5 passes do you go back into the camera and format the card for the next day.
Step 4: Sync a second copy to the cloud
Cloud is your third copy and your only one that survives a lost bag. Treat it as the top of the priority list when you have a real connection, not the first thing you try on hotel Wi-Fi.
Auto-upload from your phone is the least effort route: it runs while you shower and eat breakfast and needs no cable. On a computer, most photo services will sync a watched folder in the background.
Two things to know before you rely on it. A hotel or airport network may be slow enough that a day’s photos take an hour, so start it and walk away rather than sitting there watching. And a connected folder on your laptop is not a backup — if the laptop is stolen in Barcelona, the cloud copy vanishes with it. Upstream services can also block or throttle a first bulk upload, so a hundred gigabytes going up on a roaming connection can quietly fail and leave you believing the copy exists.
Step 5: Verify files and keep backup records
This is the step people skip, and it’s the one that separates a backup from a hope. Spend three minutes on it.
Open two or three files from the SSD copy and look at them. Compare the file count on the card with the count in the destination folder — most file managers show the number of items in a folder. Look at the last file by date, not just the first, since an interrupted copy usually fails at the end. Then write the count and the date in your notebook.
If the numbers don’t match, don’t format anything. Re-copy and check again. The rule I follow: no format until I’ve seen a file open from the backup.
It matters that cloud sync folders don’t count. A sync folder mirrors deletions, so a wiped laptop wipes the cloud copy with it. And a RAID array at home is still one copy — redundancy inside one box is not protection against losing the box.
Step 6: Handle transfers safely while moving between places
Where the copies live matters almost as much as how many there are. Split them: the SSD in your day bag on your body, the spare card in the hotel safe or a second bag, and the cloud copy somewhere you aren’t. Forum advice on this is consistent — one copy on the person, one copy locked away, one copy offsite.
On public Wi-Fi, use your phone’s hotspot for large uploads if you can. It’s usually faster and far less likely to drop mid-transfer than a café network. Avoid public computers entirely; there is no reason to put your photos on a machine you cannot wipe.
When a transfer fails, don’t retry blindly. Reconnect, check what landed, and copy again to a folder with a different name so you can see which attempt is complete.
Common mistakes
Formatting the card before verifying the copy. This is the big one, and it happens because the camera’s format button feels like tidying up. Format only after step 5 passes.
Assuming an upload finished. Progress bars lie on hotel Wi-Fi. Check the file count on the service itself before you walk away.
Trying to power a hard drive from an unpowered phone hub. The copy stalls, retries, or fails silently. Use a hub with a power input and a battery bank, or use a bus-powered SSD designed for phones.
Leaving both cards in the same bag as the camera. Two cards in one stolen bag is one backup, not two. Split them.
Counting a sync folder or a home NAS as your offsite copy while both live in the same house. If you’re home, the cloud is what protects you from a fire or a flood.
Shooting video and forgetting the difference. Video files are measured in gigabytes per minute, not megabytes per file. A day of 4K clips can fill a drive that held two weeks of stills comfortably.
Doing nothing after the flight home. Before you wipe anything, copy the trip to a second drive at home, import and dedupe, and confirm the originals open. Reformatting cards in the camera clears them for the next trip, not before.
Frequently Asked Questions
How do I back up photos while traveling without a laptop?
Your phone becomes the computer. Put a USB-C hub, a card reader and a bus-powered SSD together, plug them into the phone, and use the built-in file manager to copy the card’s folder to the SSD folder. Format the SSD as ExFAT first so iPhone and Android can both write to it. Copy the entire folder, open a few files from the SSD, compare file counts, and only then format the card in the camera.
How much storage do I need for a two week trip of photos?
It depends on whether you shoot RAW. A RAW file runs about 20 to 30 MB and a JPEG about 3 to 6 MB. At 200 shots a day, two weeks of RAW comes to roughly 2,800 files and about 60 GB; the same trip in JPEG is near 10 GB. A one-terabyte SSD holds that trip twice over, which leaves room for a failed copy to be retried without deleting anything.
Should I format memory cards in the camera or on a laptop?
Format them in the camera, and do it before you leave home as well as on the road. The camera’s own format command resets the card the way that body expects and surfaces a dying card while you can still replace it. Formatting on a laptop works, but it can pick up hidden system files that confuse some cameras. The real rule is timing: never format until the day’s backup has been verified.
Is hotel Wi-Fi fast enough to back up photos?
Sometimes, and it is rarely the best option. Shared hotel networks are slow and drop connections, and a day’s RAW files can take an hour or more to finish. Start the upload, walk away, and confirm the file count in the service later rather than watching a progress bar. Your phone’s own hotspot is usually faster and more reliable for anything larger than a JPEG. The cloud copy is the third backup, not the primary one.
Which cloud storage service is best for travel photos?
It matters less than people think. All the major services handle RAW files and offer automatic upload from a phone, which is the feature that matters on a trip. Watch for two limits: services often block or throttle a very large first upload, and a folder that syncs with your laptop is not an independent copy. Set automatic camera upload on before you leave, and keep the SSD copy even when the cloud copy looks finished.
What do I do with all my travel photos when I get home?
Copy the SSD to a second drive at home first, so you are no longer relying on the only traveling drive. Then import everything into one catalog, delete the duplicates created by mirroring two cards, and label folders by country and date. Confirm the originals open before you reformat any card. Finally, turn the cloud copy on as the standing offsite backup and stop thinking about it until the next trip.
Conclusion
The safest sequence takes fifteen minutes and never changes. Keep the original card intact, copy the day’s folder to a second device, upload a third copy you cannot reach from the trip, then open files from the backup and compare counts before the card gets formatted.
Set that gear up and test a full copy tonight, so the first real backup on the road is a repeat of something you have already done. If you only carry one thing, make it the SSD and the powered hub — everything else is a bonus.