An eSIM is a digital SIM built into your phone, so you can buy a travel data plan, install it from a QR code, and turn it on the moment you land. Learning how to use an eSIM while traveling takes about ten minutes on the phone and twenty minutes of research the night before your flight, and doing it at home rather than in an airport queue is what makes it painless.
That last part is the whole trick. Buy and install while you’re on your own Wi-Fi, leave the line switched off, and flip it on after the wheels stop. Your home number stays in the phone for calls, iMessage and two-factor codes, and the travel line handles data only.
Below is the exact sequence I use, with menu paths for both iPhone and Android, plus the fixes for the errors that actually happen after landing.
Table of Contents
- 1What You Need
- 2Step-by-Step: How to Use an eSIM While Traveling
- 3Step 1: Check That Your Phone Supports eSIMs
- 4Step 2: Choose an eSIM Plan for Your Trip
- 5Step 3: How to Use an eSIM QR Code Before You Leave
- 6Step 4: Turn On Data Roaming and Choose the eSIM
- 7Step 5: Test the Connection Before Departure
- 8Common Mistakes and How to Fix Them
- 9The QR code will not scan
- 10The phone is carrier-locked
- 11No service after landing
- 12Data works, the hot spot does not
- 13You deleted a profile by accident
- 14Charges appeared on your home bill
- 15The plan expired before you landed
- 16Frequently Asked Questions
- 17Do I turn off data roaming when using an eSIM?
- 18Can I use an eSIM and my regular SIM at the same time?
- 19When should I install a travel eSIM?
- 20How long does eSIM activation take?
- 21What happens if I delete my eSIM profile?
- 22Can I make calls with a travel eSIM?
- 23Conclusion
What You Need
Six things, and you probably already have five of them.
- An eSIM-capable phone. Check this first because no plan works on a phone without the hardware.
- An unlocked phone. A device still tied to a carrier contract usually refuses a travel profile.
- Home Wi-Fi. The QR code download is the part that fails most often on hotel or airport networks.
- An email address and the provider’s app or site, so you can reach your order and QR code again if your phone lets you down.
- A screenshot of the QR code after installation, in case you need to reinstall a profile later.
- Your passport or national ID. Some countries ask travelers to register a local SIM with immigration or the police, and having the document already in your hand saves a queue.
That’s the kit. No adapter, no plastic card, no shop counter.
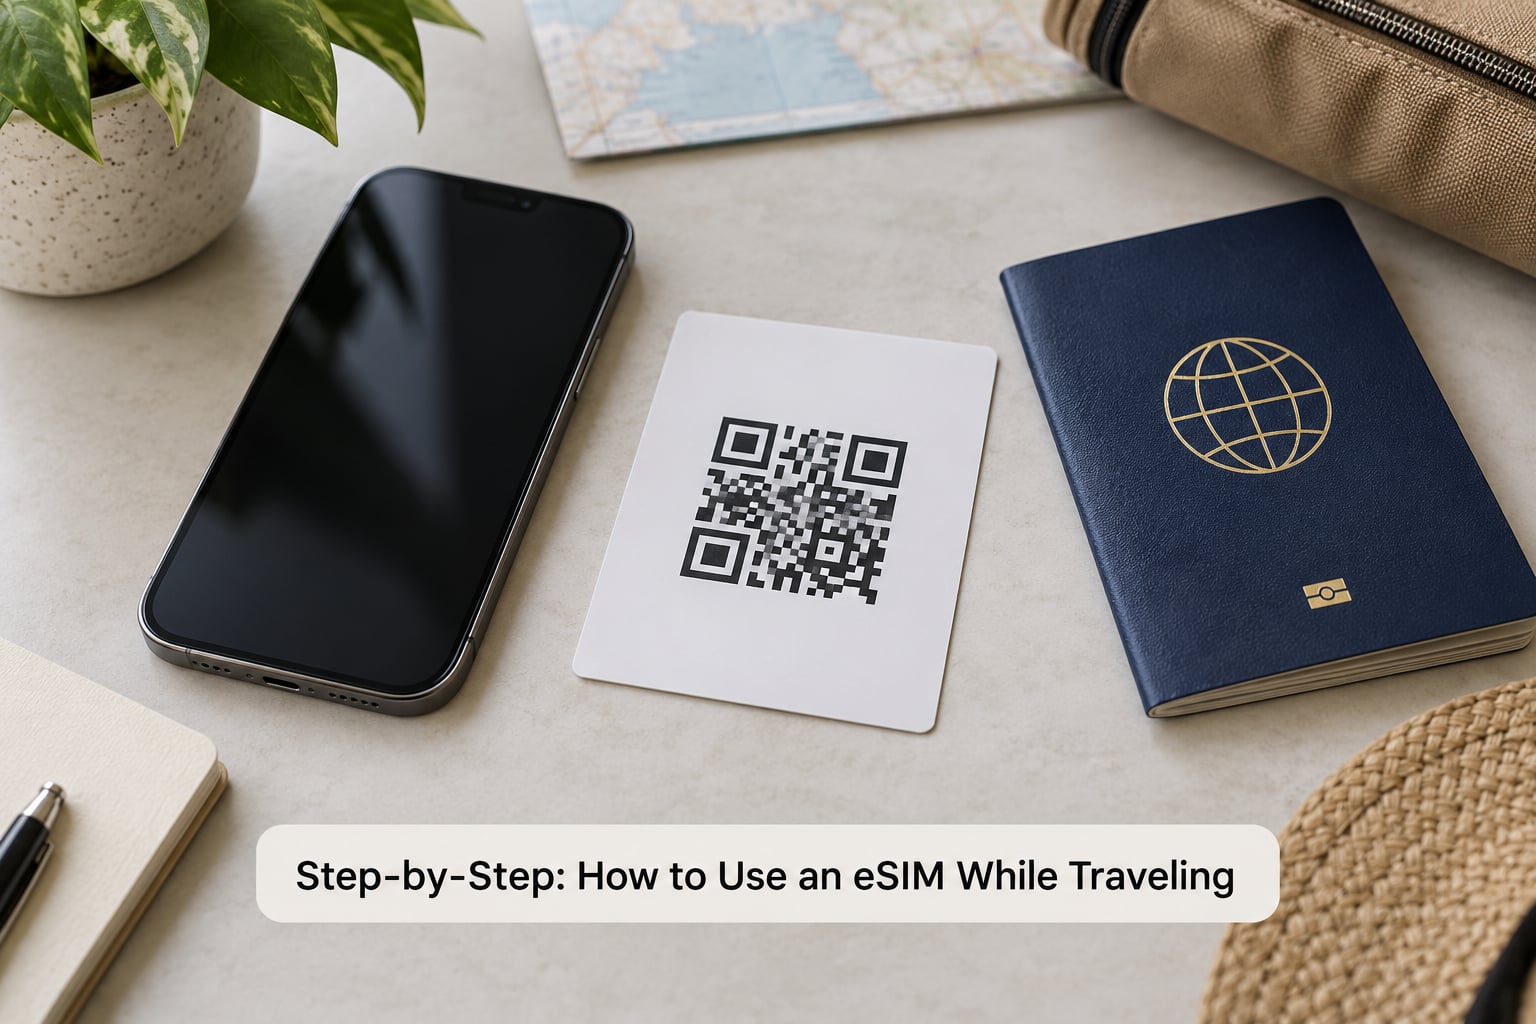
Step-by-Step: How to Use an eSIM While Traveling
Step 1: Check That Your Phone Supports eSIMs
On iPhone, any model from the iPhone XS and XR onward works, which covers the iPhone 11, 12, 13, 14, 15, 16 and 17 families plus the third-generation iPhone SE. Models bought in the United States from the iPhone 14 onward have no SIM tray at all, which makes the check automatic.
Confirm on the phone itself rather than trusting memory. On iPhone go to Settings > General > About and look for an EID line. If you see one, the hardware supports eSIM. If you see a physical SIM tray on a newer US model, you already know the answer.
On Android the check varies by maker. Samsung: Settings > About phone > EID or IMEI2. Google Pixel: Settings > About phone > SIM status. Most other Android phones hide it under Settings > Connections or Network & internet > SIM manager. Dialing *#06# also brings up the EID on many models.
Next, check the lock. On iPhone it’s Settings > General > About > Carrier Lock, which should read “No SIM restrictions.” On Android look for “SIM lock status” or “Carrier lock” under Settings > About phone > Status, and confirm it says unlocked. Locked phones from US contract deals are the single most common reason a purchase goes nowhere.
Step 2: Choose an eSIM Plan for Your Trip
Pick the plan that matches your itinerary, not the one with the biggest number attached. Three shapes cover almost every trip.
- Local or country plan. One country, cheapest per gigabyte, and the right call for a single-destination trip or a long stay in one place.
- Regional plan. A set of neighbouring countries, handy for a multi-country route through Europe or Southeast Asia. More expensive per gigabyte than a single-country plan, cheaper than buying two.
- Global plan. Dozens of countries on one profile, with per-country data caps. It costs more and you can burn your allowance on an airport layover, so it suits slow multi-month travel rather than a two-week holiday.
Before you pay, read three lines in the plan details. The validity window tells you how long after purchase you must install and activate, because some start counting the day you buy. The data allowance and any throttling threshold tell you what happens when you run dry. And the network access line tells you whether the profile gets a local number for calls and SMS or data only.
Most travelers want data only. A data-only profile keeps your home line as the default for calls and verification texts, which removes most of the hassle later.
Step 3: How to Use an eSIM QR Code Before You Leave
Buy the plan on the provider’s site or in its app, then install the profile while you still have Wi-Fi.
On iPhone: open the Camera app and point it at the QR code on screen or paper. A banner offers Use Cellular Data for downloads, or Add eSIM. Tap it, name the line something you’ll recognise later, for example “Travel,” and confirm with Add. The profile downloads in under a minute. If the camera never notices the code, open Settings > Cellular, tap Add eSIM, and choose Enter Activation Code manually. The provider gives you an SM-DP+ address plus a long activation code, both of which you type into two fields.
On Android: the route is usually Settings > Connections or Network & internet > SIMs, then Add eSIM or the plus icon. On Samsung phones, scan the code with Camera instead and tap the pop-up. Some manufacturers require you to turn on mobile data briefly, with no mobile plan inserted, purely for the download, so plan for a minute of that.
Two warnings. Do not scan or retry a failed code over and over; a stuck or half-installed profile can block every further attempt, and the fix is usually a delete-and-start-again. And do not delete a profile you might still need after the trip. Providers with an app can reissue a code, others cannot.
Step 4: Turn On Data Roaming and Choose the eSIM
Installing is not activating. Until you flip the switch, the profile sits on the phone doing nothing.
On iPhone, Settings > Cellular shows a list of lines. Tap the travel line, turn Cellular Data and Data Roaming on, then go back one level and set Cellular Data for this line to the travel plan. Leave the switch off on your home line so the phone can’t default to it mid-transfer.
On Android, the same toggles sit inside the travel SIM’s own entry under Settings > Connections > Mobile networks. Turn on Roaming for that SIM, then set Preferred SIM or Mobile data to the travel profile.
On many phones you can run both at once. Current iPhones with two active eSIMs, and most flagship Androids with an eSIM plus a physical card, keep the home line available for calls and one-time codes while the travel line carries the data. If your model only supports one active line at a time, keep Wi-Fi calling switched on so incoming calls still reach you.
If the signal is stubborn, toggle airplane mode on for ten seconds and off again. That forces the phone to re-register on the network, and it fixes most “no service” complaints right after landing.
Step 5: Test the Connection Before Departure
Test at home, on your own network, before you pack. It takes three minutes and it is the difference between fixing a problem in your living room or at a customs desk.
Turn the travel line on, turn airplane mode off, and open any web page. If it loads, the profile is live. Then check the network name: on iPhone, Settings > Cellular > travel line shows the network; on Android, the status bar carrier name changes once it registers. Look for a familiar local carrier rather than a partner with thin coverage in your specific area.
Finally, look up remaining data in the provider’s app and note the reset date. If you plan to use a hot spot, try tethering once, and if nothing happens the profile needs a manual APN entry, which your provider lists in its help section.
Common Mistakes and How to Fix Them
Almost every eSIM problem falls into one of these buckets, and every one has a fix.
The QR code will not scan
Screen brightness up, then try opening the code as an image file rather than photographing a screen. Failing that, use the manual route: Add eSIM > Enter Activation Code on iPhone, or the equivalent field on Android, and paste in the SM-DP+ address and activation code your provider emailed. Cancel any failed install prompt rather than retrying it five times.
The phone is carrier-locked
The store that sold you the phone on a payment plan has to remove the lock. Contact the carrier, not the eSIM provider, and ask for the unlock; some do it over chat in minutes, others after the device balance is cleared or a period of account good standing. Meanwhile, borrowing an unlocked phone for the trip beats paying a daily roaming bill.
No service after landing
Work through it in order: airplane mode for ten seconds, confirm the travel line is switched on, confirm data roaming is on for that line, and confirm the travel plan is the one selected for cellular data. If the network name shows a weak partner, try manual network selection in the cellular settings, then switch back to automatic. Airport arrivals sometimes need a few minutes of signal time before the network allows data through.
Data works, the hot spot does not
Hot spot traffic often needs a manual APN. The provider’s help page lists the values; enter them under the travel line’s APN settings and restart the phone. This is a limitation of the profile, not a fault in your phone.
You deleted a profile by accident
Reinstall from the provider’s app if you have it, or ask support for a reissued QR code. If the provider cannot reissue, the plan is usually still recoverable, but it takes a support conversation, so this is the argument for buying from a company with round-the-clock help.
Charges appeared on your home bill
Your home line had data roaming switched on abroad. Turn it off, keep Wi-Fi calling on so calls still come in, and check the carrier’s roaming add-on before the next trip so the block is deliberate rather than accidental.
The plan expired before you landed
Some plans start their validity clock at purchase. If you bought yours weeks ahead, install it close to departure, or buy a plan with a long activation window and install later.
A short departure checklist: install and test the profile on home Wi-Fi, rename the lines “Home” and “Travel” so you stop guessing, screenshot the QR code, download the provider app before you fly, keep a backup plan, and check the coverage map for every country on your route rather than trusting the word “global.”
Frequently Asked Questions
Do I turn off data roaming when using an eSIM?
Turn roaming off on your home line and leave it on for the travel line. Most carriers treat data sent over your regular SIM while abroad as international roaming and bill it accordingly, which is exactly what the travel plan replaces. Some providers also require roaming enabled on their own line even though they are a local network in the country you are visiting.
Can I use an eSIM and my regular SIM at the same time?
Usually yes. Phones with dual active eSIM support, such as current iPhones and most flagship Androids, keep your home number available for calls, iMessage and two-factor codes while the travel profile handles data. Older models and some regional Android devices run dual standby instead, where one line pauses during a call on the other. Check your model before you rely on it.
When should I install a travel eSIM?
One to three days before departure, on your own Wi-Fi. That gives you time to retry if the first install fails and still leaves the profile switched off until you land. Avoid buying weeks ahead unless the plan has a long activation window, because some start counting the validity period from the purchase date rather than the day you switch it on.
How long does eSIM activation take?
Under a minute once the QR code scans on a good connection, and about the same through manual entry with an SM-DP+ address and activation code. Most of the time people spend on this is not downloading, it is finding the right settings screen. If nothing happens after several minutes, switch to the manual method rather than rescanning the same code.
What happens if I delete my eSIM profile?
The plan itself is not gone, but the profile on your phone is, and the code that installed it may be the only copy. Reinstall from the provider app where possible, or contact support for a reissued QR code. Keep a screenshot of the code after every install, and avoid deleting travel profiles on a whim, because the ones providers can reissue fastest are the ones with an app.
Can I make calls with a travel eSIM?
It depends on the plan. Data-only profiles carry no phone number, so calls, SMS and banking verification texts stay on your home SIM or Wi-Fi calling. Plans sold with a local number do support calls and texts, usually over the local network. If your trip involves business calls or anything tied to SMS verification, check that the plan includes a number before you buy.
Conclusion
Start tonight, not the morning of the flight. Confirm your phone shows an EID and reads as unlocked, buy a plan sized to your itinerary, install the QR code on home Wi-Fi, and switch the line on before you pack so you can test it. On landing, toggle airplane mode for ten seconds and check the network name.
Keep your home SIM alive for calls and verification codes, keep a backup connection in case a destination has poor coverage, and confirm coverage for every country on the route rather than trusting the word “global.”